Fudgy Red Velvet Brownies
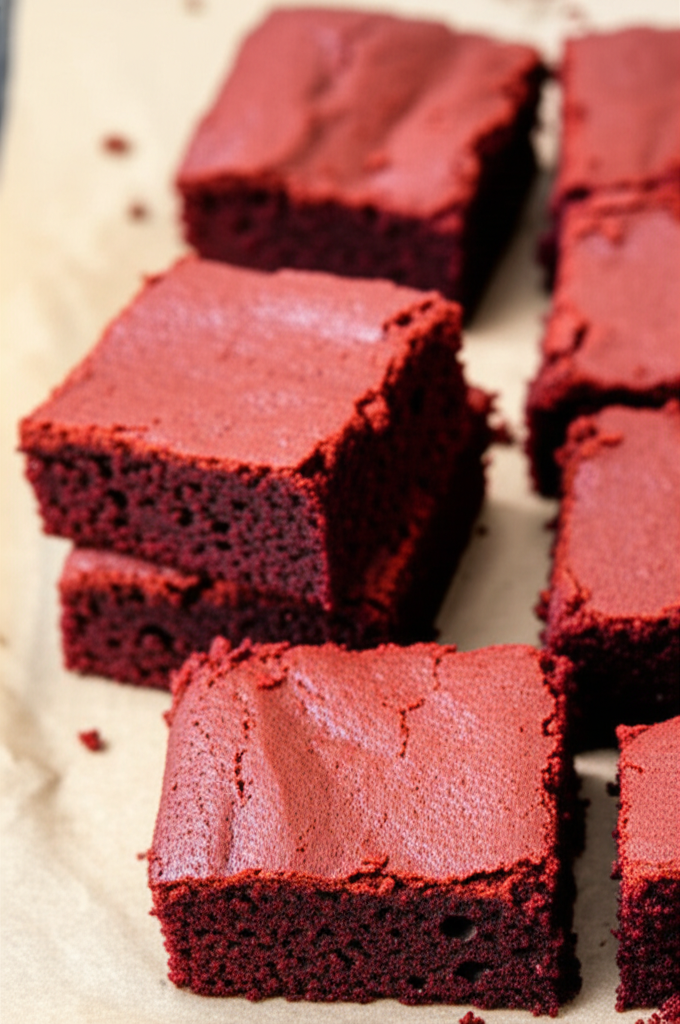
These fudgy red velvet brownies are the best way to celebrate Valentine’s Day or treat yourself to a rich, chocolatey dessert any time. They have the brightest red color and the signature red velvet flavor, making them as beautiful as they are tasty. Their moist, fudgy texture will make you want to eat more every time!
This brownie recipe should be your first choice if you ever want a tasty red velvet dessert. It tastes like a regular brownie, but it’s made with red velvet flavors in mind.
Also, this is a recipe that you can make for Valentine’s Day, Christmas, a baby shower, or any time you want something sweet and tasty!
What sets red velvet brownies apart?
Red velvet desserts have a unique taste that comes from mixing acidic ingredients like vinegar or buttermilk with the slightly bitter taste of unsweetened cocoa powder. Red velvet brownies are different from regular brownies because they have a perfect mix of tangy and chocolate flavors, along with the most beautiful color from the red gel food coloring.
These are the things you need to make Fudgy Red Velvet Brownies.
For the exact amounts of each ingredient, be sure to scroll down to the recipe card at the bottom of the page.
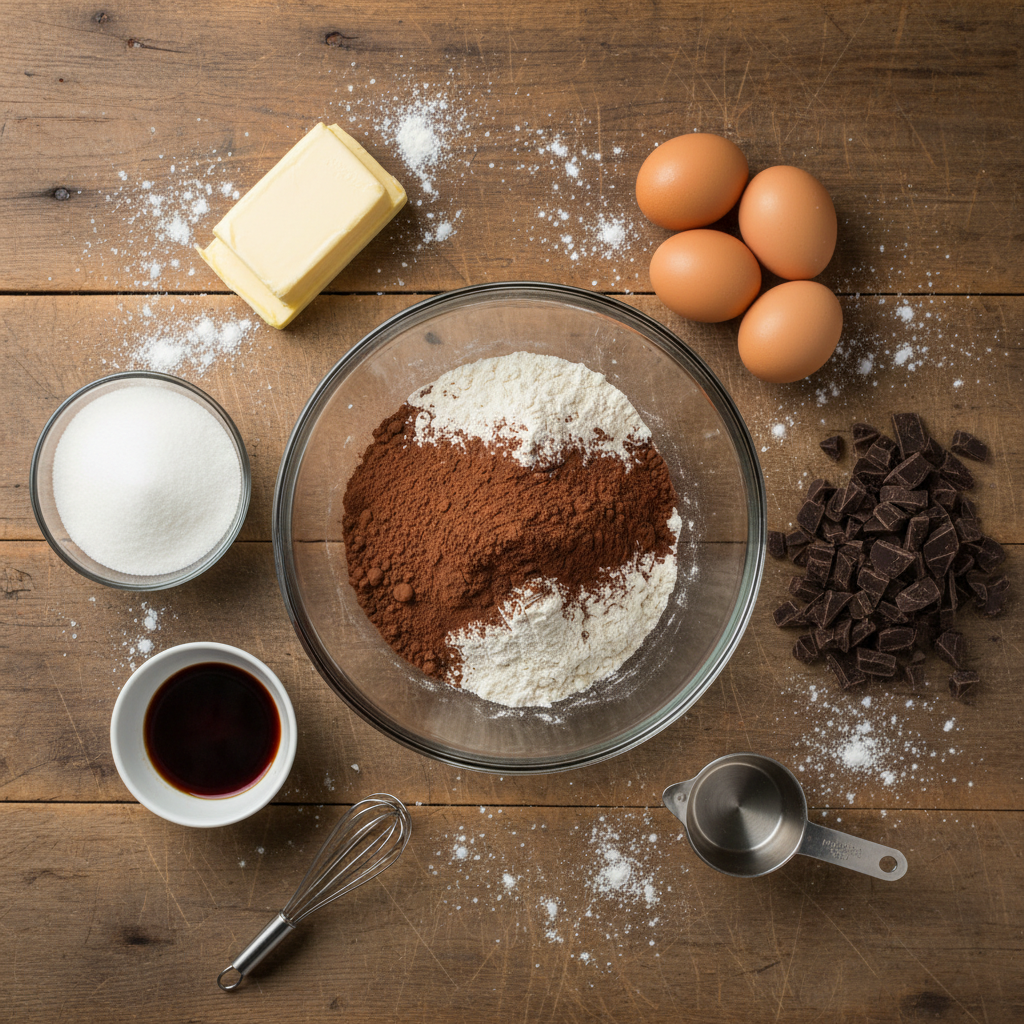
- Butter
- Chopped Semi-Sweet Chocolate Bar
- Granulated Sugar
- Eggs
- Vanilla extract
- White vinegar
- Red Food Coloring
- Unsweetened cocoa powder
- All-Purpose Flour
- Salt
Butter: Makes the food richer and gives it a fudgy texture.
Chopped Semi-Sweet Chocolate Bar: This gives the chocolate a rich flavor (chocolate chips work too).
Granulated Sugar: Makes the brownies taste great.
Eggs give the food structure and make it chewy.
Vanilla extract makes the chocolate taste better.
White vinegar is an important part of getting that classic red velvet taste.
Red Food Coloring: Gives the cake its famous red velvet color. I like to use gel food coloring instead of liquid food coloring because it makes the color stand out more.
Unsweetened cocoa powder gives you a mild chocolate flavor.
All-Purpose Flour: gives the brownie its shape.
Salt: Just a little bit is all you need to make the other flavors stronger and balance out the sweetness.
How to Make the Fudgy Red Velvet Brownies
For the best results, be sure to read all the way to the end of this post to see the full recipe card with all the steps.
- Set your oven to 350°F and grease or line an 8×8 inch baking pan with parchment paper.
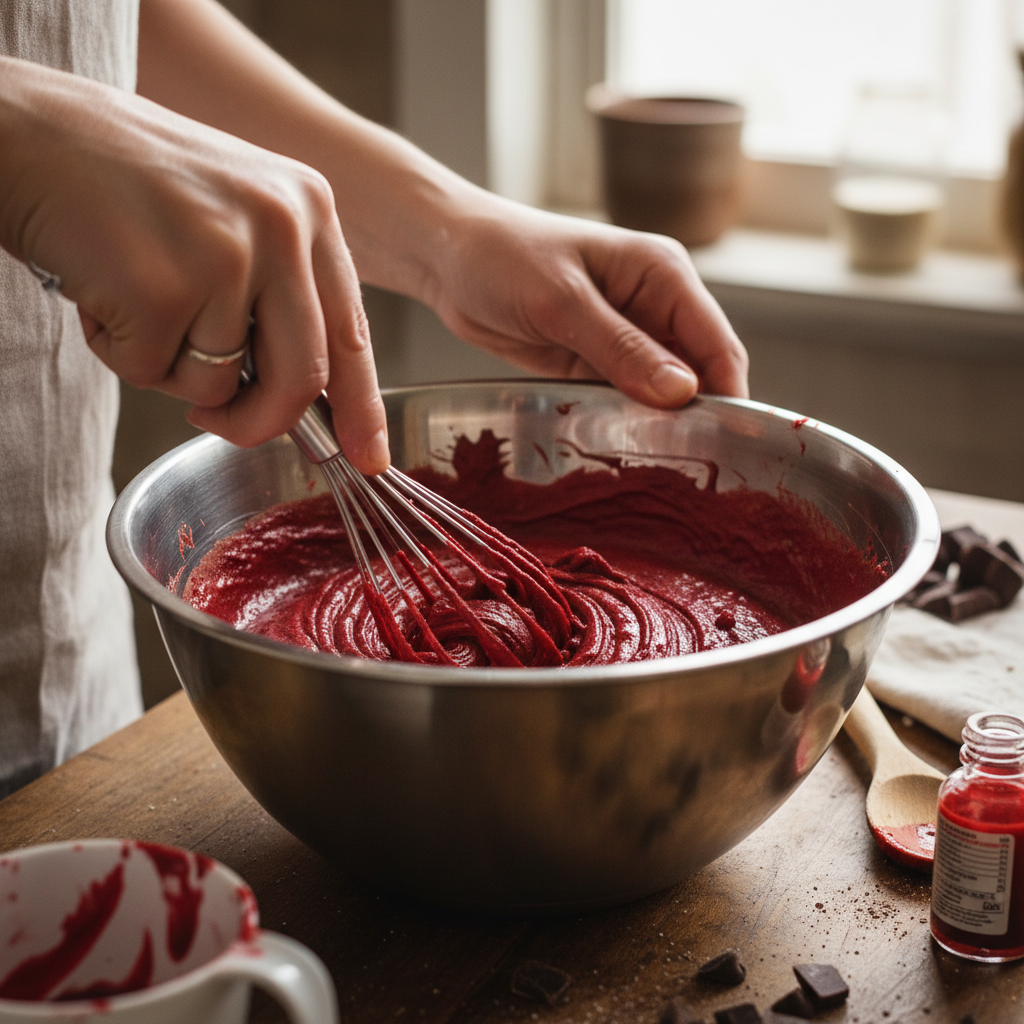
- Put the butter and chopped chocolate in a large mixing bowl that can go in the microwave. Heat them in 30-second bursts until they melt. Use a whisk to mix it until it is completely melted.
- Mix the granulated sugar into the melted butter and chocolate mixture with an electric mixer on medium speed until everything is well combined.
- Then, add the eggs one at a time, beating well after each one. Next, add the red food coloring, white vinegar, and vanilla extract and mix well.
- In a separate large bowl, sift together the cocoa powder, flour, and salt.
- Gradually add the dry ingredients to the wet ingredients, mixing until just combined. Be careful not to over-mix.
- If desired, fold in any mix-in’s such as white chocolate chips into the brownie batter.
- Pour the red velvet brownie batter into the prepared baking pan and spread it evenly. Get every last drop by scraping the sides of the bowl with a rubber spatula.
- Bake in the preheated oven until a toothpick inserted into the center comes out with a few moist crumbs (not wet batter).
- Allow the brownies to cool completely to room temperature in the pan before cutting into squares using a sharp knife.
I made this brownie recipe using a whisk and a rubber spatula, but feel free to make it in a stand mixer, or even by using an electric hand mixer!
Why You Need to Make this Recipe!
- These brownies are soft, gooey, and melt-in-your-mouth little bites of heaven.
- Signature red velvet flavor: That subtle cocota tang and stunning red hue make these brownies extra special.
- Perfect for any occasion: from Valentine’s Day to Christmas, these brownies are always a hit.
- No fuss baking: Simple steps, basic ingredients, and amazing results every time.
Frequently asked questions – FAQ Tips for the perfect fudgy red velvet brownies
- Don’t over-mix the batter: This ensures a tender and fudgy texture every time.
- Use gel food coloring: For a vibrant red color without adding excess liquid.
- Test for doneness: A toothpick with a few moist crumbs (not wet batter) will be your sign that these brownies are ready to be pulled out of the oven. You never want to overbake brownies because they won’t be as fudgy as they are supposed to.
How to Store Leftover Fudgy Red Velvet Brownies
Keep it in an airtight container on the kitchen counter for three days, in the fridge for a week, or in the freezer for a couple of months.
Freezer: Put the brownies in an air tight container or freezer bag and freeze for up to 2 months.
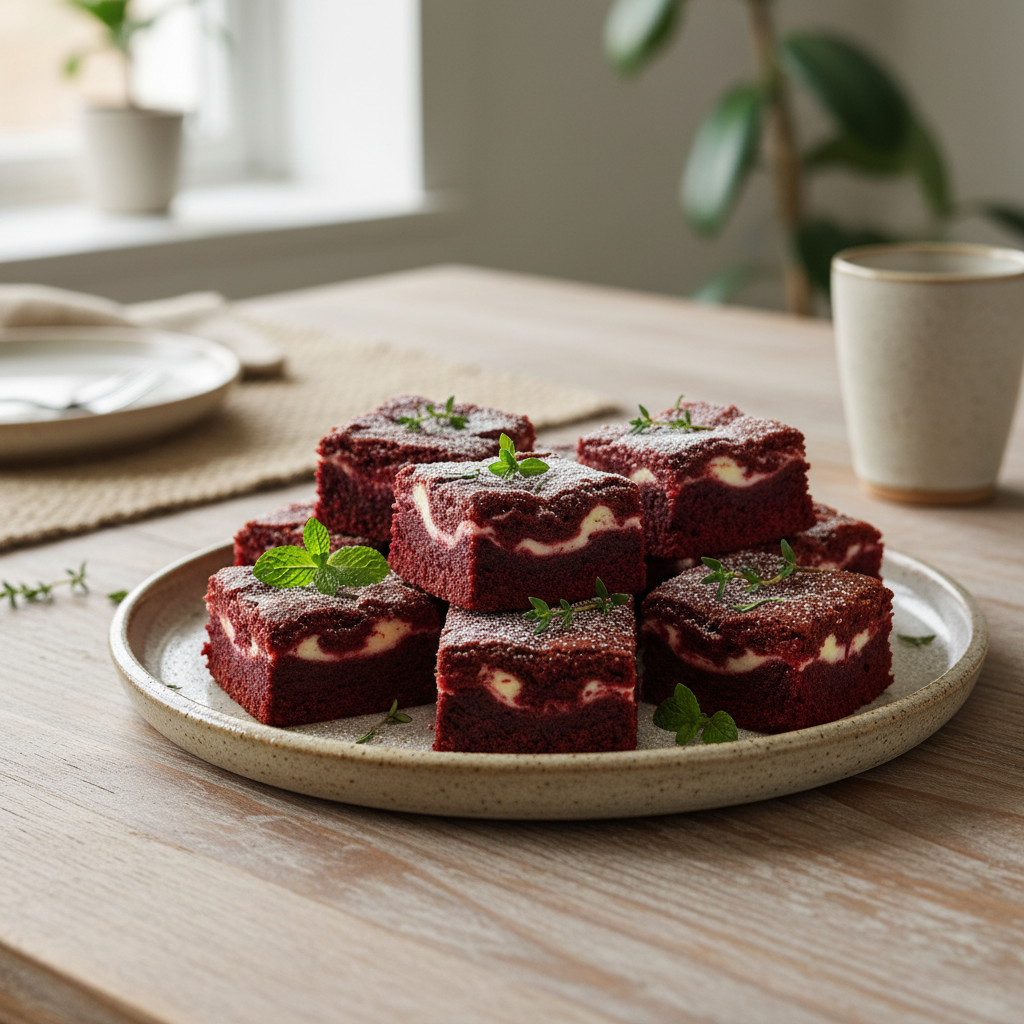
Can I Add Toppings to red velvet brownies?
Of course! A nice dusting of powder sugar or a sprinkle of heart-shaped candies would add a fun and festive Valentine look!
You could also do a spread of decadent cream cheese frosting for some extra flavor and creaminess. Be sure to add some pink or red coloring to it to make it look perfect for the holiday of love.
What Other Flavors or Mix-ins work best here??
- Mix-In’s: White chocolate chips or chopped peanuts would add a fun touch to the texture of the brownies.
- Swirls: Melt a bowl of peanut butter or caramel sauce and pour it over the batter. Use a toothpick to swirl it in.
- Brookie: Mix brownie batter and cookie dough together and bake them both at the same time to make a red velvet brookie!
Where did red velvet desserts come from?
Traditional red velvet desserts trace their origins back to the early 19th century, where the “velvet” texture referred to cakes with a fine and soft crumb. The deep red color was originally a natural result of a chemical reaction between unprocessed cocoa powder, which was more acidic than the modern Dutch-procesed cocoa powder, and ingredients like buttermilk or vinegar. These acidic elements enhances the cocoa’s reddish undertones, and giving these desserts their signature look without any added food coloring! Crazy, right!
Over time, as processed cocoa powder became more common, that natural red color started fading away. To keep that iconic color, bakers started adding red food coloring which has since become a the normal way to make this dessert. The unique flavor profile, with a milk chocolate taste with tangy undertones form the vinegar or buttermilk does remain the halmark or this insanely popular sweet treat.