Grilled Cheese Roll-Ups
I usually think of breakfast when I hear the word “roll ups.” These French toast roll ups are a great example. It’s time to change things up and try a savory option. Grilled cheese roll-ups are great finger food for a game day, a board game night, or any other get-together. Or just something fun to do with the kids.
You can also make this delicious homemade tomato soup to dip them in if you want. You can make grilled cheese roll-ups very easily. If I can do it, you can too. Let’s get going!
Ingredients
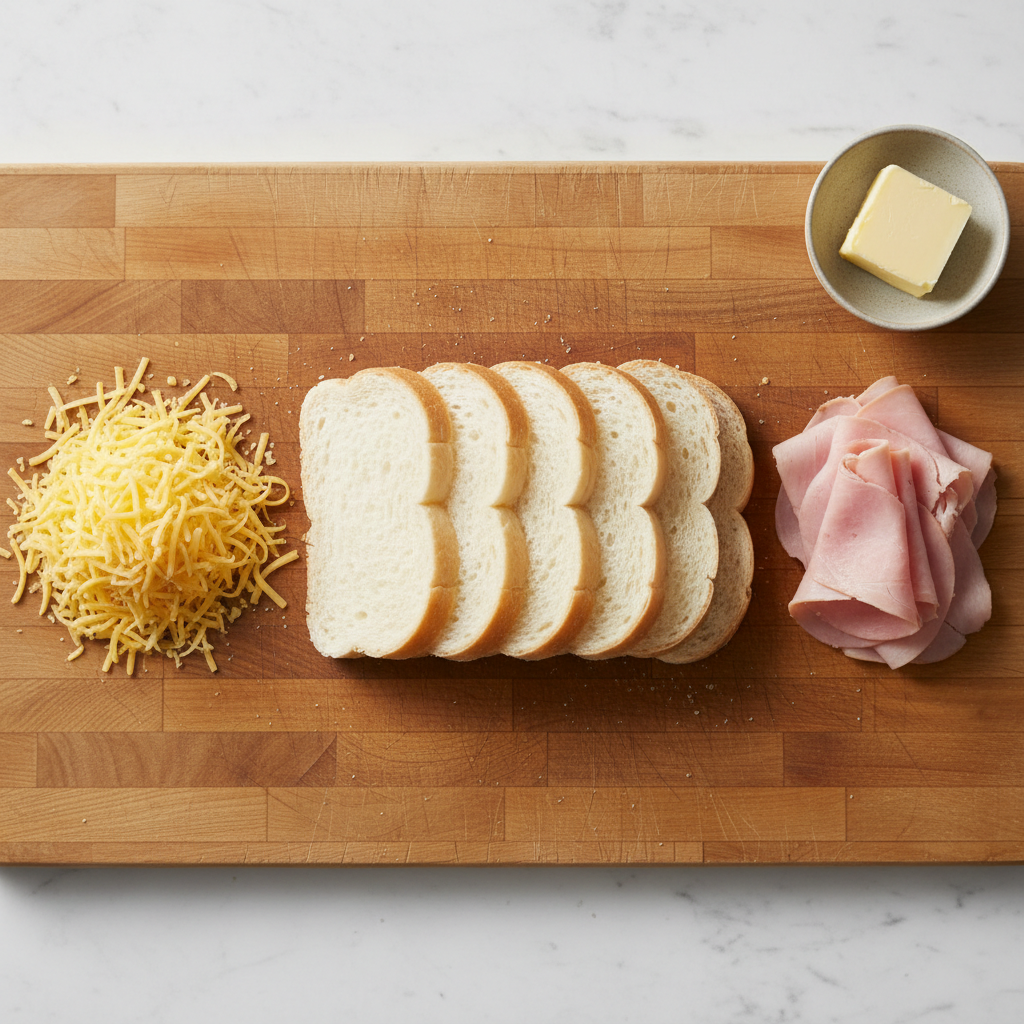
- Bread: I like white bread, but any kind of bread will do.
- Cheese: I like to use a mix of jack, colby, and cheddar that has been finely shredded.
- Ham: You don’t have to have ham.
- Butter? Oh yes, I love butter!
Tools
- Griddle or skillet
- Knife and tongs
- Board for cutting
- Optional: toothpicks
- A rolling pin
- Optional: a basting brush
Step-by-Step Instructions
1. Cut off the crust of your bread first.
I like to use wide sandwich bread, but any kind of sliced bread will do. You can use whole wheat, multi-grain, and other types. I like to use Country-Style White the most.
Or you could make this great homemade white bread and use that instead.
The soft, fluffy bread works better than the denser bread. The lighter, fluffier bread tends to stay flat better.
Try out different kinds of bread and see which one you like the best.
NOTE: You can dry out the crust and use it to make bread crumbs, toast sticks, croutons, bread pudding, or feed it to the ducks.
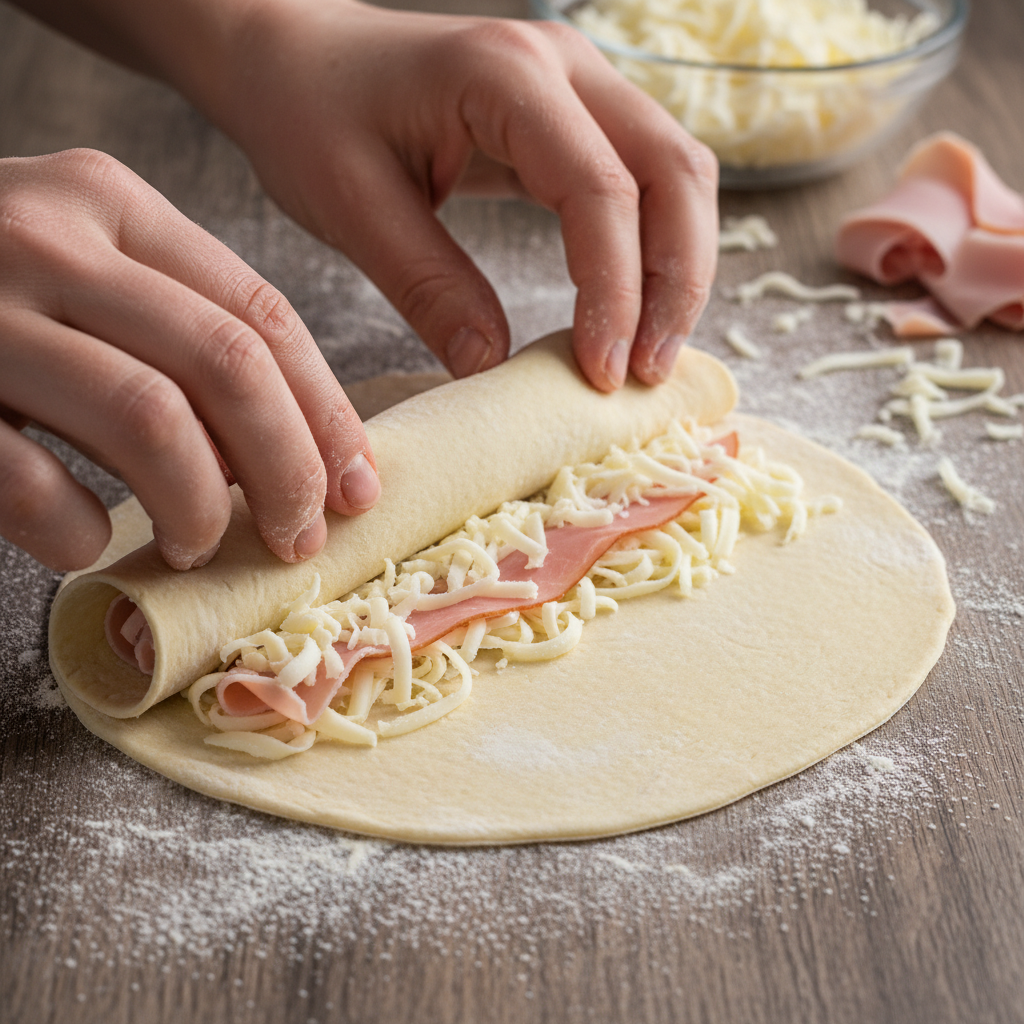
2. Now, use a rolling pin to roll the bread out very thin.
3. Put some cheese on top. Then roll it up really tight.
You might need to use toothpicks to hold it together. When I roll it widthwise, it doesn’t stay together as well as when I roll it lengthwise. So I usually roll it up lengthwise.
TIP: Shred the cheese thinly so it melts more easily. You could also use American cheese, which melts very easily. I don’t use American cheese because I don’t like the way it tastes.
Do you want to add ham? Make sure the deli ham is very thin. If it is too thick, it won’t roll up well and stay together.
(This shows how the grilled cheese rolls up lengthwise without toothpicks.)
For variety, I like to do some with ham and some without. Ham and cheese are always a good choice!
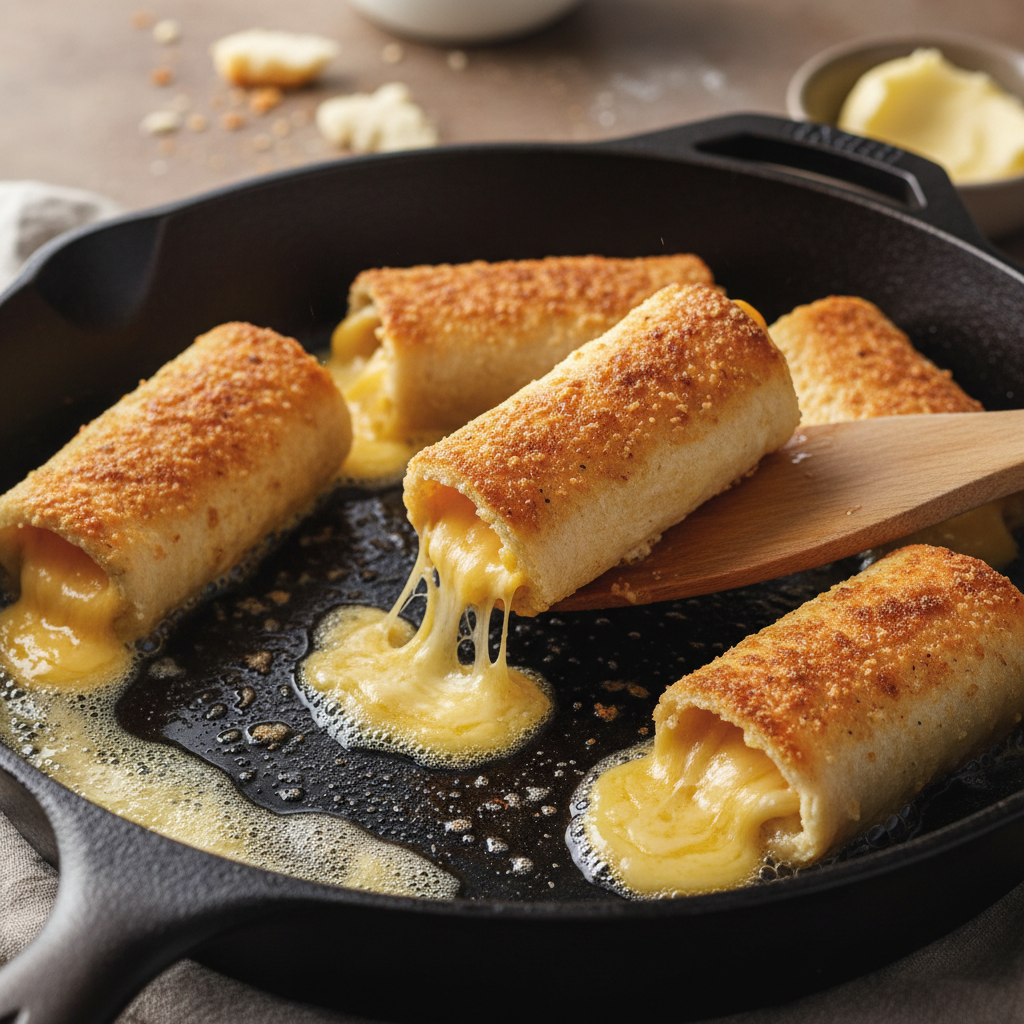
4. Put the butter in a skillet and turn the burner to between Medium-low and Medium, or about 325 F/162 C on the griddle.
Put the grilled cheese roll-ups in the pan after that. You can also brush more butter on the tops. I really like butter!
You can use coconut oil or something else instead of butter if you don’t want to. Maybe you want to put mayonnaise on it instead? You might think that’s strange, but a lot of people use mayonnaise instead of butter on the outside of their grilled cheese sandwiches.
5. Cook for a few minutes turning occasionally so they get evenly browned.
If you have some with toothpicks in them, you should be able to remove the toothpicks halfway through the cooking. The cheese will be melted enough and act as glue to hold it together so it doesn’t unroll on you.
They take around 5 to 8 minutes to cook completely.
Now if you like, you can place the crusts in the skillet as well, and brown those to make fun little toast sticks. Or like I mentioned above just dry them out and make homemade breadcrumbs with them.
Serving and Storage
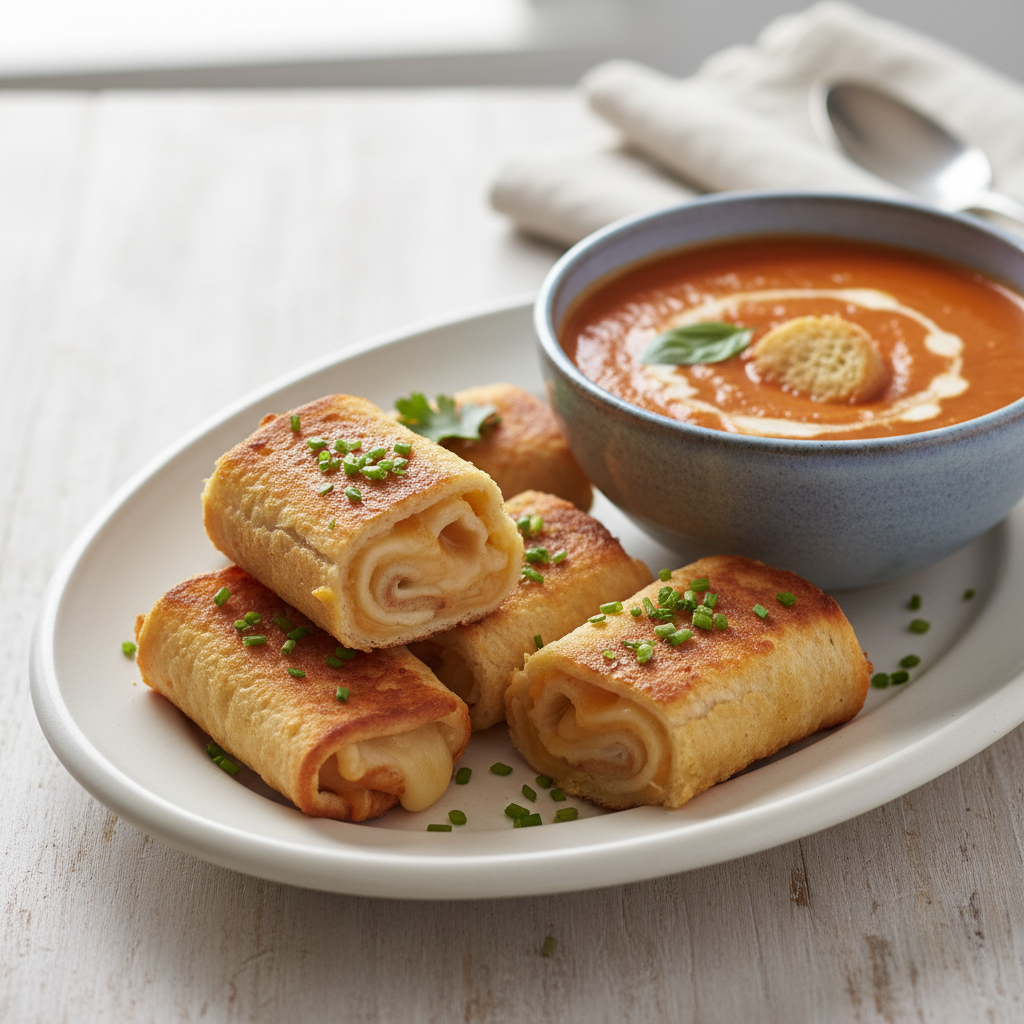
They are ready to serve. I like to cut them in half to make them more of an appetizer size, but you can certainly leave them whole as well.
Serve them with a bowl of this amazing tomato soup too if you like or eat them as is. Enjoy!
How long do grilled cheese roll ups last?
Fresh is the best time to eat them. You can put the leftovers in a ziplock bag or an airtight container and keep them in the fridge for a few days, though. To warm them up, just put them in the microwave for a few seconds. Or warm them in the oven.