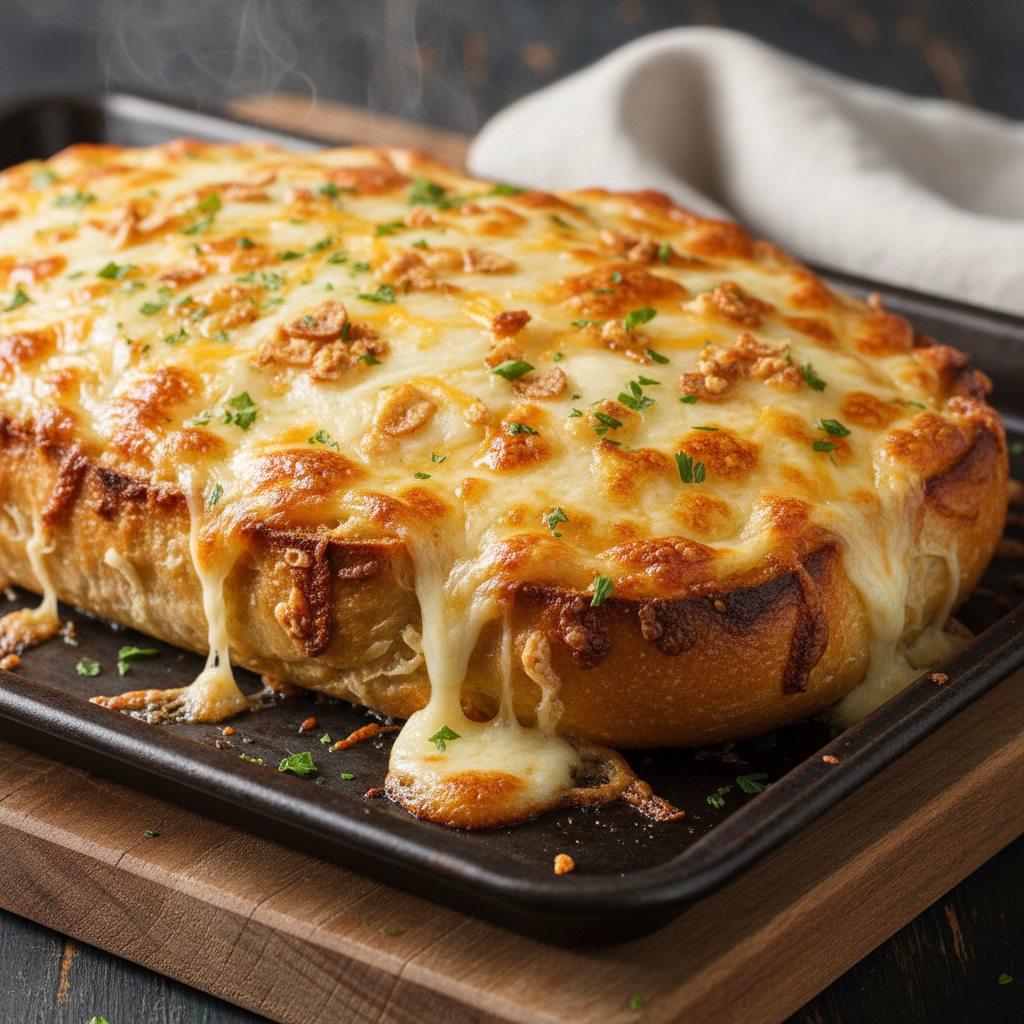
Garlic Bread Recipe
Something magical is happening in the oven right now.
div[data-widget-id="1861588"] { min-height: 300px; }
Golden, crispy, cheesy perfection in the making.
Can you smell that buttery garlic goodness already?
Why You’ll Love This
- This isn’t just any garlic bread.
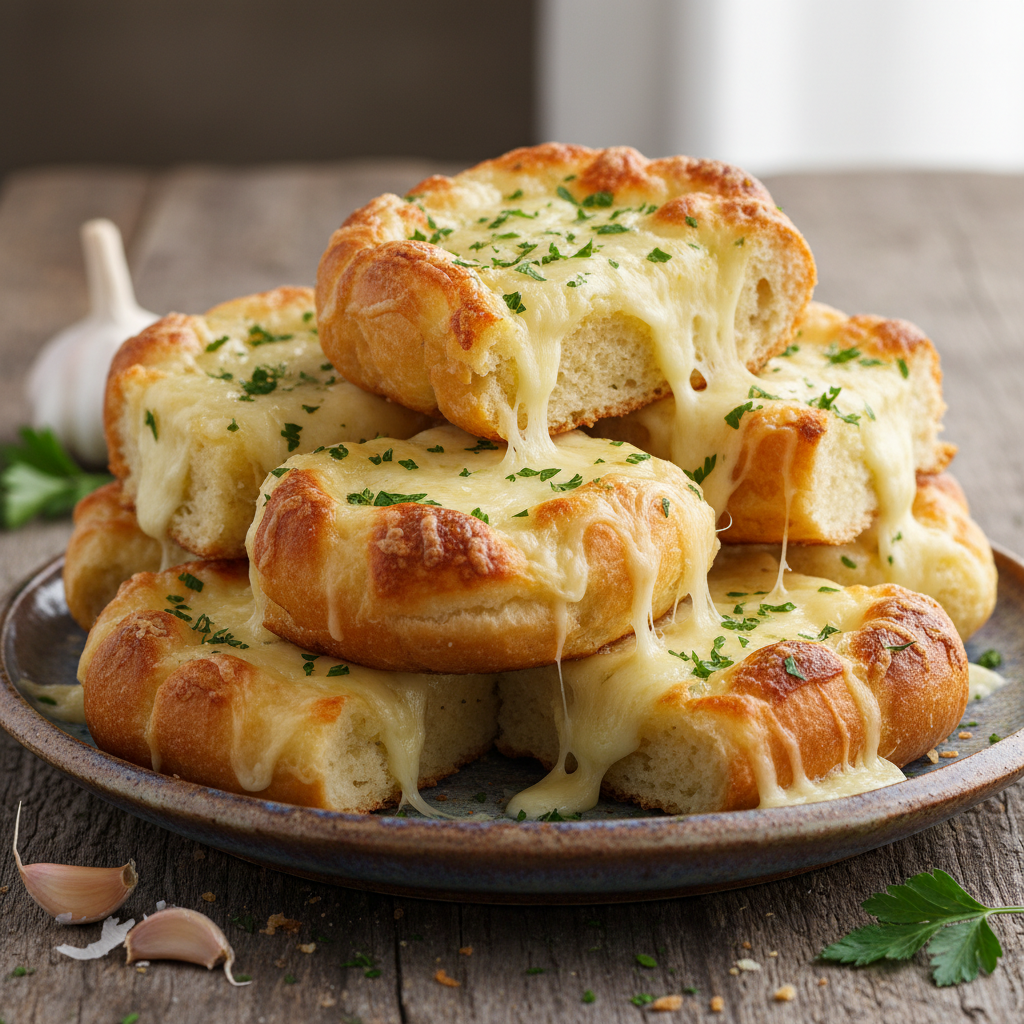
- This is the kind that melts in your mouth.
- Soft and fluffy on the inside, soaked in rich, garlicky butter.
- This is the ultimate comfort food.
- Want to make the best cheese garlic bread?
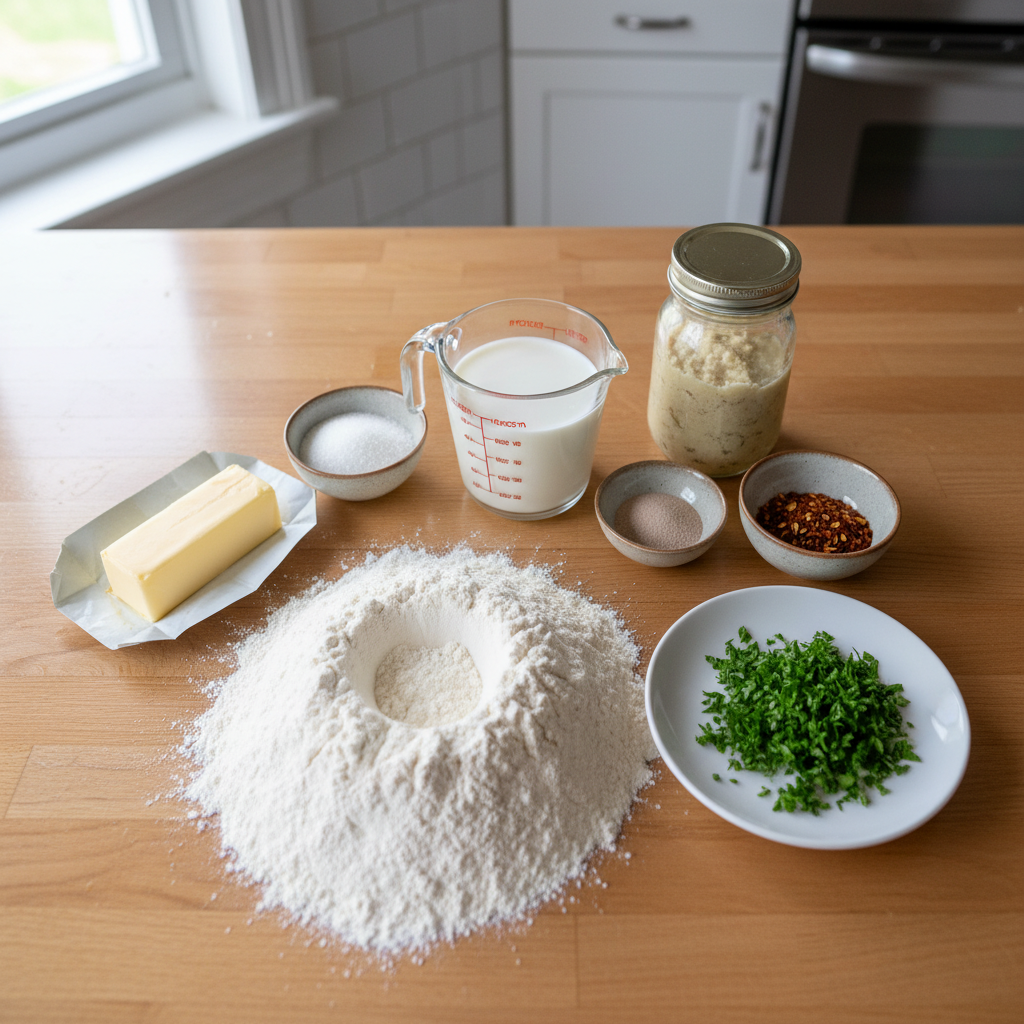
Ingredients
-
For the Yeast Mixture
- 225 milliliters of milk
- 30 grams of sugar
- 1.5 teaspoons of instant dry yeast, about 4.5 grams
-
For the Dry Ingredients
- 300 grams of bread flour
- 5 grams of salt, just 1 teaspoon
-
For the Dough
- soft butter
-
For the Garlic Butter Mixture
- two tablespoons of garlic paste
- 50 grams of soft butter
- one teaspoon of chili flakes (totally optional)
- A few chopped parsley leaves
- salt to taste
-
For Assembly
- cheese
Instructions
- Alright, let’s start with the foundation of this soft, fluffy garlic bread, our yeast mixture.
- Here I’ve got 225 milliliters of milk, not too hot, not too cold.
- Next, we’re adding 30 grams of sugar.
- Now I’m going to add 1.5 teaspoons of instant dry yeast, about 4.5 grams.
- Just sprinkle it in, give it a good mix, and that’s it.
- Now let this sit while we move on to the next step.
- Alright, now let’s move on to the dry ingredients.
- Here, I’m using 300 grams of bread flour.
- Sifting the flour?
- Next, add 5 grams of salt, just 1 teaspoon.
- Now, give it a good mix, whether it’s with a whisk, a spatula, or just your hands.
- Now, slowly pour that beautiful yeast mixture into the flour.
- So, once everything is well combined, it’s time to take it to the working table.
- Dust your tables lightly.
- Push, fold, turn, and repeat.
- The first need should be around 3 to 4 minutes.
- Then, add soft butter.
- Time to let this beauty rest and rise.
- While our dough is rising, let’s move on to the garlic butter mixture that’s going to take this bread to the next level.
- First up, take two tablespoons of garlic paste.
- Next, add 50 grams of soft butter.
- Now, for a little kick, one teaspoon of chili flakes.
- A few chopped parsley leaves.
- And of course, salt to taste it.
- Now, mix it all up until you get a smooth creamy.
- Now, it’s time for a little punching to release the air.
- Now, dust your table lightly just enough to keep the dough from sticking.
- Then, transfer your dough to the working table.
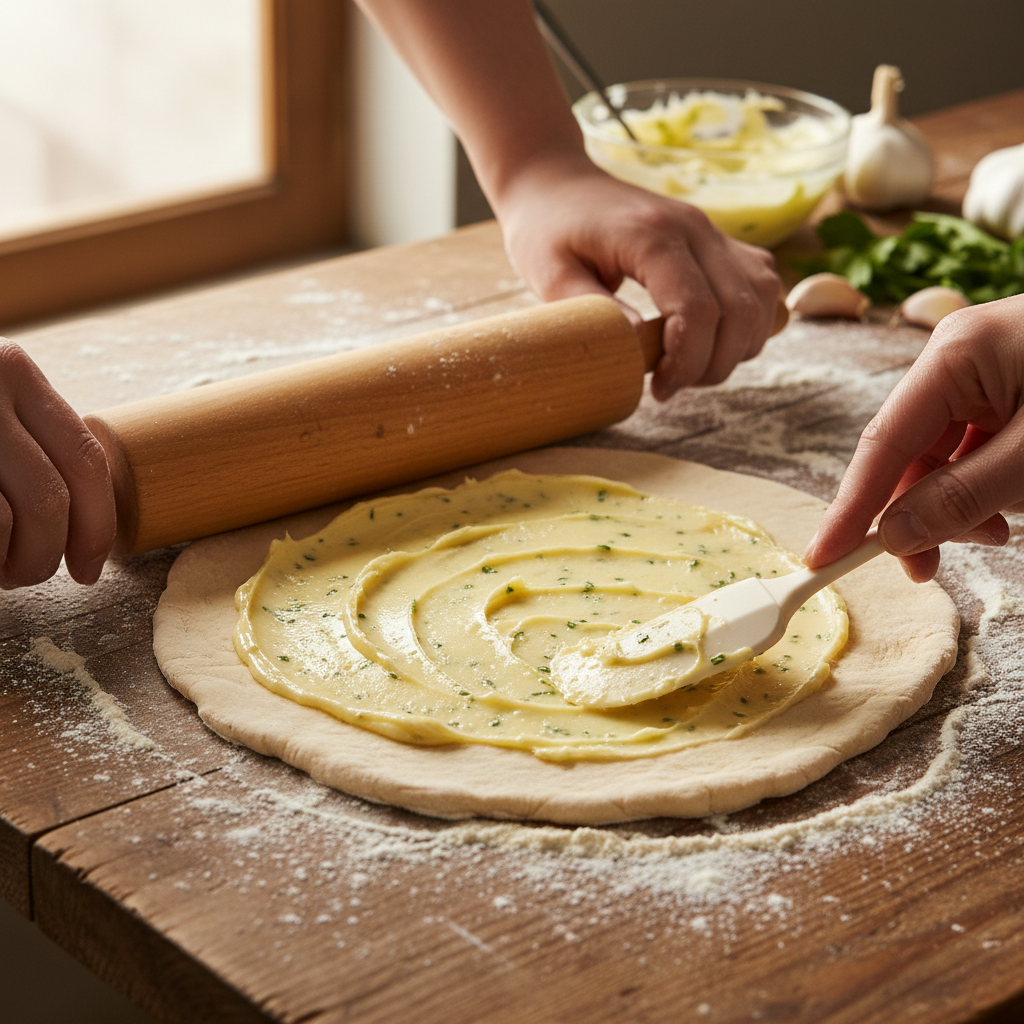
- Grab your rolling pin and gently roll out the dough.
- Spread that rich garlic-y butter all over.
- Layer it right on top of that garlic butter so every bite is pure, cheesy perfection.
- One by one, stack those layers like a delicious tower of garlic and cheese.
- Now, carefully place them into your bread mold, snug but not too tight.
- Now, it’s time to let our beautiful dough proofing just one more hour.
- Cover it up gently, give it some time and let it do its thing.
- Now, preheat your oven to 180 degrees Celsius, 350 degrees Fahrenheit.
- But wait, before we bake, let’s take that garlic butter and brush it gently over the top.
- And now, into the oven it goes 30 minutes of patience.
Cooking Tips
- If you’re using active dry yeast, remember, you need to activate it first.
- But with instant dry yeast, nope, no waiting.
- Just mix and move on, it’s that simple.
- But if you’re using all-purpose flour, no worries.
- Just remember, all-purpose absorbs less liquid than bread flour, so you might need to slightly reduce the liquid later.
- Sifting the flour?
- Yep, it’s a small step, but trust me, it makes a big difference.
- Light, fluffy, and no lumps in sight.
- Think of it as a stress reliever, push, fold, turn, and repeat.
- But, if you don’t feel like getting your hands messy today, no problem.
- If you’re using a dough machine, start on low speed, just to let everything combine, then gradually increase to low medium.
- Now, whether you’re using your hands or a mixer, the first need should be around 3 to 4 minutes.
- Then, add soft butter.
- This butter is going to make our dough silky smooth, giving us that rich texture.
- Now, how long you need depends on how strong you are.
- If you’re doing this by hand, get ready for a little arm workout, at least 15 minutes of good solid needing.
- If using a machine, let it run until your dough turns soft, smooth, and elastic.
- And here’s the moment of truth, the window pain test.
- Stretch a small piece of dough, and if it turns thin and translucent without tearing, congratulations, you’ve nailed it.
- Alright, if it’s wintertime and your kitchen feels cold and dry, don’t worry.
- I’ve got the perfect trick to help your dough rise beautifully.
- Here’s what you do, place your dough inside a switched off oven or microwave.
- Next, take a glass of hot water and place it right next to the dough.
- This simple trick creates the perfect warm, humid environment, just like a cozy little dough spa.
- It might sound simple, but trust me, this little hack makes a big difference.
- Your dough will rise faster, smoother, and fluffier.
- Oh, and if you ever want to make your own garlic paste, it’s super easy.
- Just cook some garlic in oil until soft and then blend it into a silky smooth puree.
- No empty spots allowed.
- Make sure every inch is covered because this is what gives our bread that deep irresistible flavor.
- And of course, cheese, go crazy, be generous because more cheese means more happiness.
Try this recipe and let me know in the comments how did it turn out for you?
Thank you.