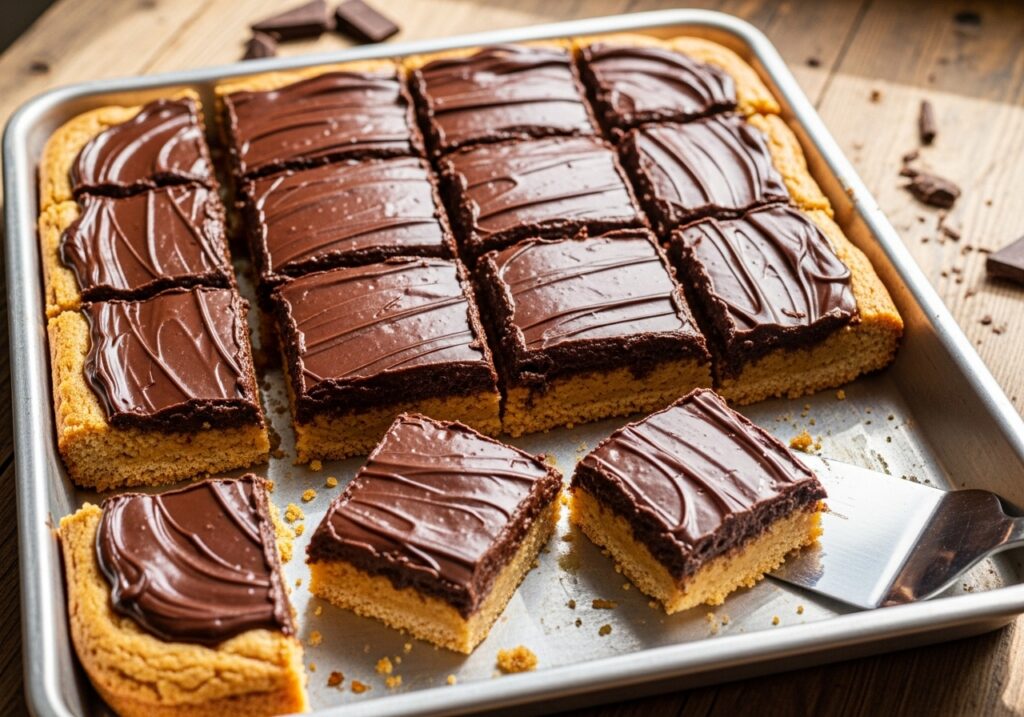
The Best Homemade Peanut Butter Cookie Bars Recipe You’ll Ever Make
Craving an easy, cozy treat? Make these delicious homemade peanut butter cookie bars! A creamy, chewy peanut butter base topped with creamy chocolate. Whether you want to share it or not!
Prep Time: 20 minutes
Cook Time: 25 minutes
Total Time: 45 minutes
Yield: 16–20 bars
The warm, nutty smell of peanut butter cookies baking is one of the most reassuring things in the world. And you’ve reached a new level of dessert perfection when you turn that timeless flavor into simple bars! These homemade peanut butter cookie bars have long been my favorite for a variety of occasions, including classroom bake sales and informal family get-togethers. The combination of a chewy peanut butter foundation and a glossy, sweet chocolate covering is simply delicious, and they’re exceedingly forgiving, which is a great plus in my eyes. I’m thrilled to share this recipe with you because it’s a true gem that came about as a result of many kitchen experimentation.
The Reasons These Peanut Butter Cookie Bars Will Win Your Heart
I’m constantly searching for recipes that offer the most taste with the least amount of effort because I’m a busy home baker. And believe me when I say that these bars were exactly right. They only need a few basic cupboard items and no specialized equipment, and they can be prepared in less than an hour, including baking. What I especially love about them is their texture: a silky, melt-in-your-mouth chocolate covering nicely balances the delightfully soft, chewy peanut butter base. Because they aren’t too sweet, the star—that mouthwatering peanut butter—can really shine. They are also quite adaptable; they keep up well in lunchboxes, at picnics, and as a wonderful afternoon snack with a glass of milk.
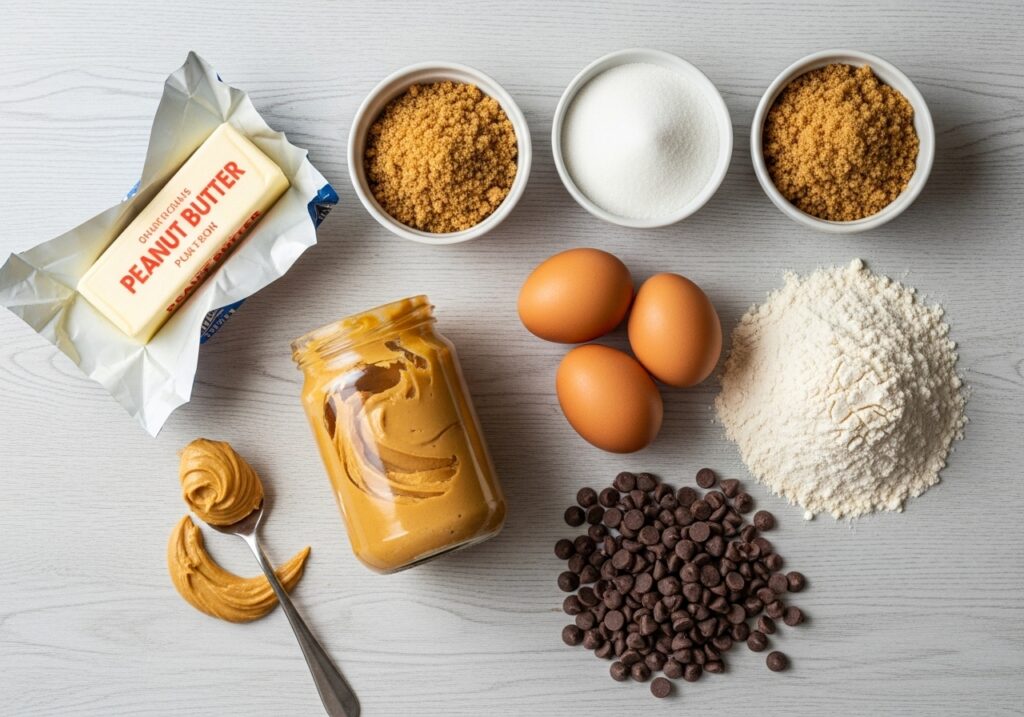
Important Components
The simplicity of these easy peanut butter cookie bars is what makes them so lovely. You probably already have the majority of the ingredients in your kitchen:
- Butter: For a creamy base, softened unsalted butter is essential.
- Peanut Butter: Natural peanut butter also works well, but I like creamy peanut butter for a smooth texture.
- Sugars: To get the ideal chewy texture and caramel overtones, a combination of brown and granulated sugar is used.
- Eggs: Hold the mixture together.
- Vanilla Extract: The flavor of peanut butter is enhanced by vanilla extract.
- Flour: Structure comes from all-purpose flour.
- Baking Soda: To give you a little boost.
- Salt: Brings out the flavor of peanut butter and balances the sweetness.
- Chocolate Chips: For that layer of chocolate that is too good to resist.
Detailed Instructions for Making the Ideal Peanut Butter Cookie Bars
To make your own batch of chewy peanut butter bars, simply follow these steps:
-
Get the Pan Ready:
Set the oven temperature to 175°C (350°F). Before you begin building, make sure your oven is at the proper temperature. Grease a 9 x 13-inch baking pan and dust it with flour. As an alternative, line it with parchment paper, allowing the sides to overhang. This greatly simplifies the process of lifting the bars out. Believe me, this action saves a great deal of potential heartache!
-
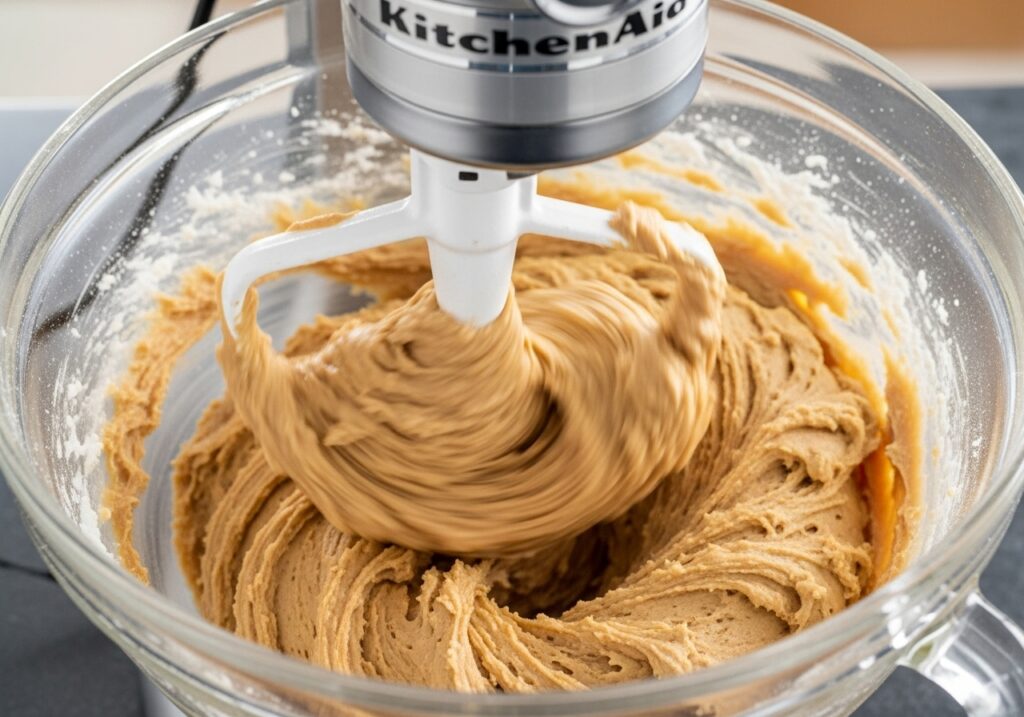
Cream the Base:
In a large bowl, beat together 1 cup of creamy peanut butter and softened butter until light and fluffy using an electric mixer (or a robust whisk and a little elbow grease!). The texture of the cookie foundation depends on this aeration.
-
Make the Offer Sweeter:
To the whipped mixture, add the packed light brown sugar and granulated sugar. Continue beating until all ingredients are fully incorporated and the mixture has a creamy appearance. Moisture and a delicious depth of taste are provided by the brown sugar.
-
Put the Binders in:
One by one, beat in the eggs, making sure each is completely combined before adding the next. Add the vanilla extract and stir.
-
Mix the Dry Ingredients Together:
Mix the baking soda, salt, and all-purpose flour in a different medium-sized basin. By doing this, any strangely salty or flat areas in the dough are avoided and the leavening agent and salt are dispersed uniformly throughout.
-
Wet and Dry Marriage:
Add the dry ingredients to the wet ingredients one at a time. Stir by hand or on low speed until *just* incorporated. Stop combining as soon as you see no dry flour streaks since overmixing might cause the gluten in the flour to develop too much, resulting in tougher bars.
-
Create the Base:
Evenly distribute roughly two-thirds of the peanut butter dough into the baking pan that has been prepped. Although I prefer to use an offset spatula, lightly oiled hands also work quite well. For reliable baking, make sure it’s as level as possible.
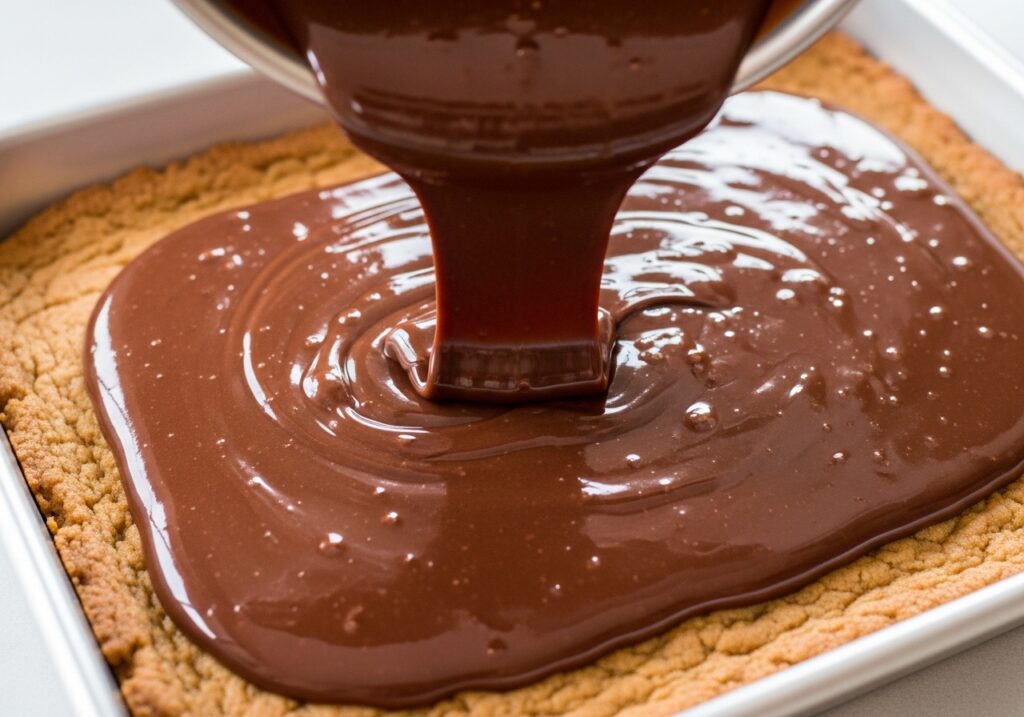
- Get the Topping Ready: Melt the semi-sweet chocolate chips and the ¼ cup of creamy peanut butter in a microwave-safe bowl or over a double boiler. Stir until glossy and smooth. By adding that extra touch of peanut butter, the chocolate covering doesn’t get too hard and becomes a little softer and simpler to spread.
- Layer Up: Cover the chocolate layer with a dollop of the leftover peanut butter dough. Use a knife or offset spatula to spread it carefully, or swirl the peanut butter dough into the chocolate using a skewer or the tip of your knife for a fascinating marbled look. You can use your imagination here!
Cooling and Baking: The Essential Last Steps
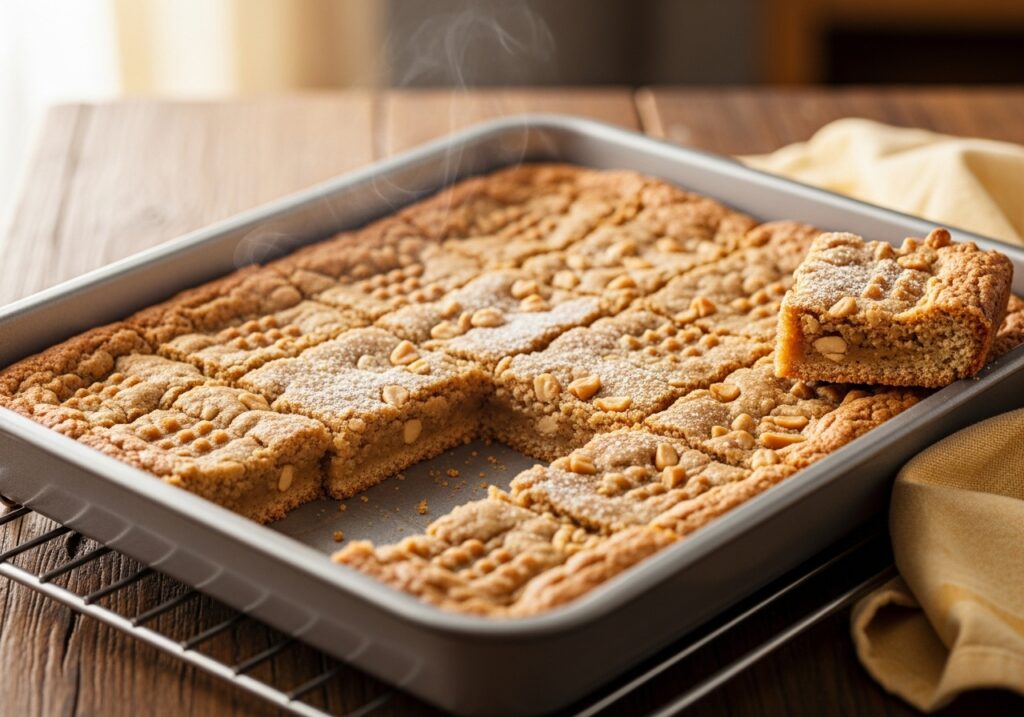
- Bake Until Perfectly Done: For 25 to 30 minutes, bake the bars in a preheated oven. The center should be set but still have a hint of softness to it, and the edges should be a light golden brown. Avoiding overbaking is essential because it can result in brittle, dry bars. Since they will continue to cook a little as they cool, I usually take them out when the center *looks* just barely set.
- The Cooling Patience Game: After baking, this is possibly the most crucial stage. Place the bars on a wire rack in the pan and allow them to cool fully. This ensures clean cuts by allowing the foundation to set correctly and the chocolate covering to solidify. Cutting them while they’re still warm will result in a sticky, messy, but still delicious mess. The secret to getting those tidy squares that everyone adores is patience.
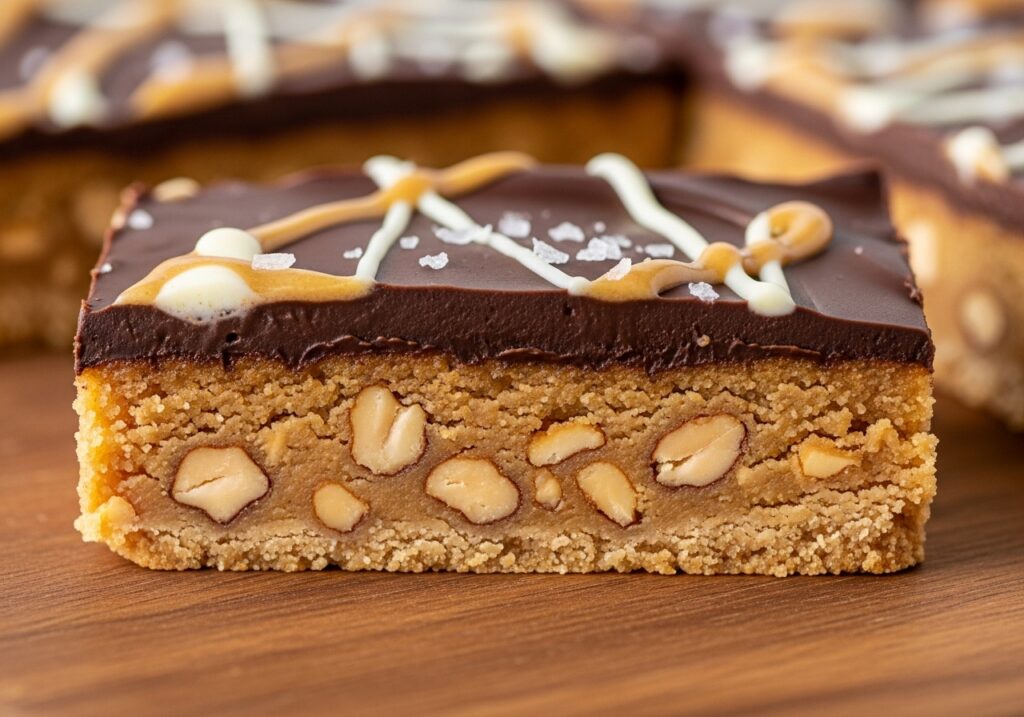
- Slice and Present: When the slab is fully cool, take it out of the pan using the overhanging parchment paper. After placing it on a cutting board, cut it into the size of a bar you want. Typically, a 9×13-inch pan yields 16–20 bars.
Tips & Tricks from the Author
After making these peanut butter chocolate bars more times than I can remember, I’ve learned a few tips to make sure they always come out delicious:
- Ingredients at Room Temperature: Verify that your eggs and butter are at room temperature. This facilitates their appropriate emulsification, which improves the texture and smoothness of the dough.
- Don’t Overmix: I can’t stress this enough! Gluten is created when flour is overmixed, which will make your bars tough rather than chewy and soft. Stir just until incorporated.
- Peanut Butter Option: Standard creamy peanut butter (such as Jif or Skippy) produces the most reliable and manageable results for this particular recipe, while natural peanut butter may also work. Make careful to thoroughly whisk and remove any surplus oil if you decide to use natural.
- Swirl Method: Don’t swirl too much if you want the marbled effect on top! All it takes to produce a lovely pattern without over-mixing the layers is a few light strokes with a knife or skewer.
- The Key Is Cooling: Really, don’t feel the need to warm them up! They require time to solidify. Once the pan is no longer hot to the touch, you can quickly chill it in the fridge for about half an hour, but for texture, it’s best to let it cool at room temperature.
Frequently Asked Questions
Can I make these bars using natural peanut butter?
It may take a little more stirring to get the natural peanut butter completely mixed into the dough, especially if the oil has separated. The flavor will still be amazing even if the texture is a little different. The best results for these bars are usually obtained with creamy normal peanut butter.
How should peanut butter cookie bars be stored?
After cooling, keep the peanut butter cookie bars at room temperature for up to three or four days in an airtight container. They will get slightly firmer if you chill them for extended storage. Additionally, they freeze well for two to three months. Before serving, let it thaw at room temperature.
Are these bars freezer-friendly?
Of course! These bars freeze incredibly well. Cut them into individual servings or leave them in a slab until they have cooled fully. Place them in a freezer-safe bag or container after securely wrapping them in plastic wrap. They keep well in the freezer for two to three months. Before eating, let it thaw overnight in the fridge or for a few hours at room temperature.
Which variations am I able to try?
Oh, how many options there are! For added texture and taste, you can mix chopped peanuts or a handful of chocolate chips into the foundation dough. Think about using dark chocolate chips, milk chocolate chips, or perhaps a mix of the two for the topping. Just before baking, sprinkle sea salt on top for a beautiful contrast of salt and sweetness.
Peanut butter cookies were a mainstay at every family get-together when I was growing up. My grandmother had a famous recipe, and while I loved hers, I always tinkered. These bars are my homage to those cherished memories, adapted for ease and speed. They remind me of the simple joys of childhood, and the aroma that fills the kitchen when they’re baking is pure nostalgia. I’ve even shared them with friends who’ve lived abroad, and they always say it’s the closest taste of home they can get!
Ready to Bake the Best?
I truly believe this is the best homemade peanut butter cookie bar recipe out there. They are a testament to how simple ingredients can create something truly spectacular. Give them a try, and I promise your kitchen will smell amazing and your taste buds will thank you!
Have you made these? I’d love to hear about your experience in the comments below! Share your tips, variations, or any fun stories you have. And if you love them as much as I do, please share this recipe on Pinterest and Instagram!
Happy Baking!
“`