Lovely Bread Recipe
Hello everyone, and welcome.
div[data-widget-id="1861588"] { min-height: 300px; }
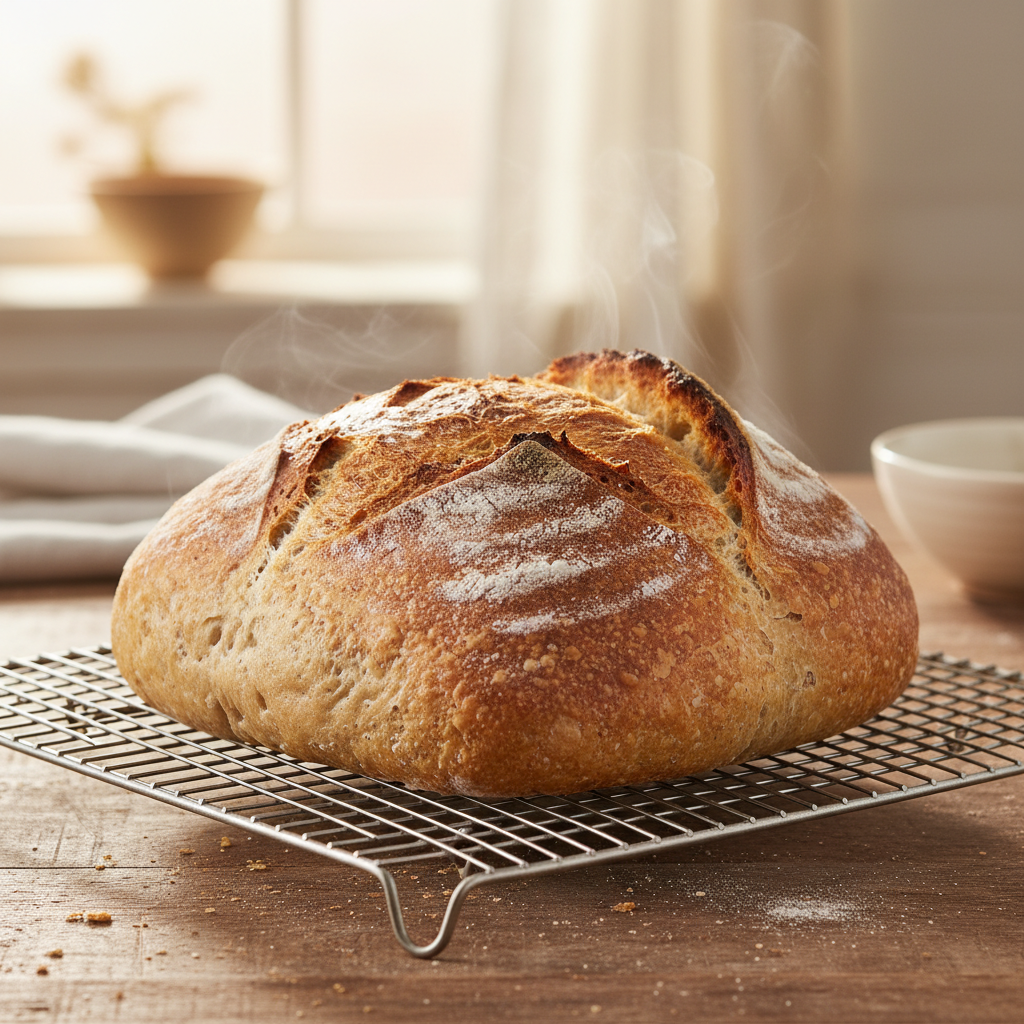
I’m going to share with you how to make this lovely bread.
This is a basic bread recipe with a little bit of a twist to it.
Why You’ll Love This
I came across this recipe, had to share with y’all.
oh my gosh, it feels so nice to the touch.
And if you can even see that it’s just nice and pillowy soft and that’s going to make some nice pillowy soft bread.
The texture of this bread. It is just incredible.
It is just nice and soft.
Ingredients
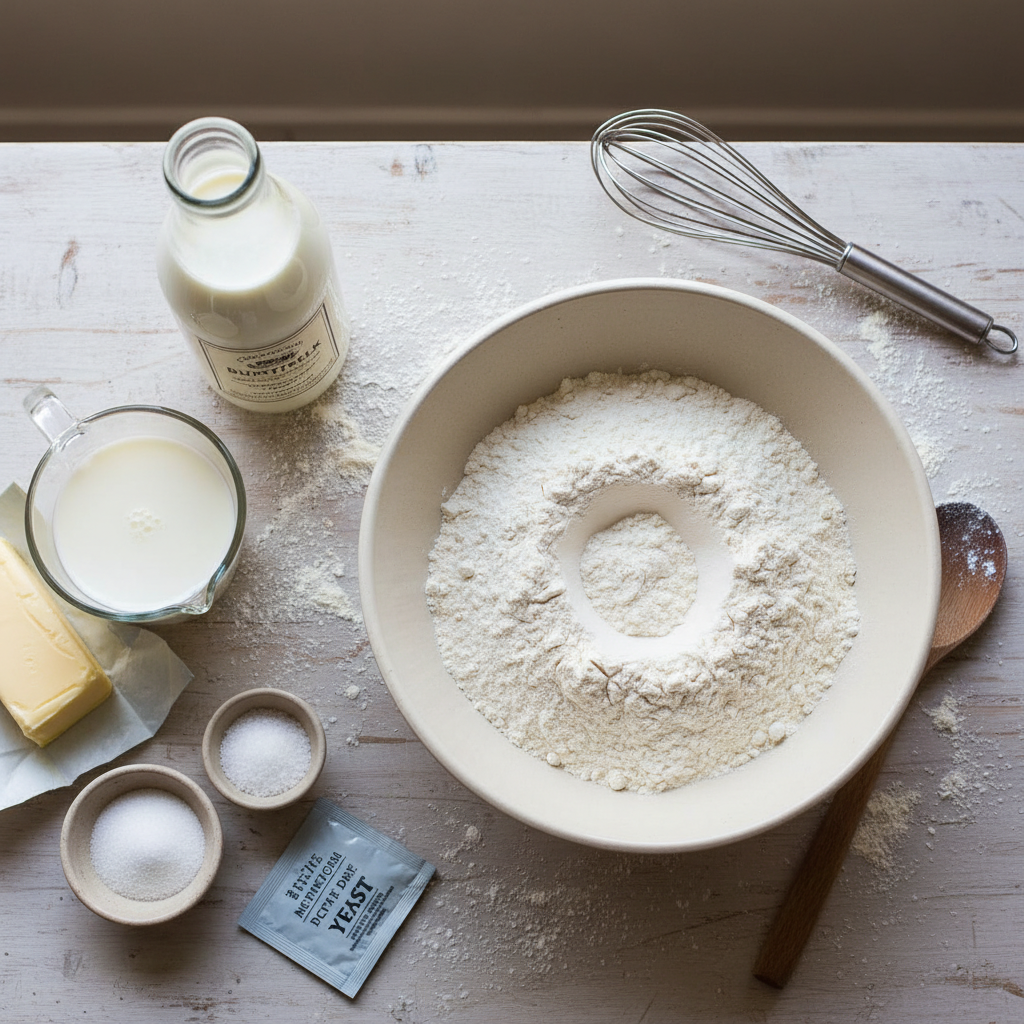
- buttermilk (one and a half cups, plus about a tablespoon to two tablespoons at the most for additional kneading)
- bread flour (three and a half cups) (You can also use regular all-purpose flour as well.) (A little bit more for countertop)
- unsalted butter (two tablespoons)
- regular table salt (one teaspoon)
- active dry yeast (one tablespoon) (If you are going to be using the yeast packets, each packet of a yeast is two and a fourth teaspoons. You want to do your measurement that you end up coming up with one tablespoon.)
- granulated sugar (two tablespoons)
- nonstick canola spray
- soft butter (for greasing the loaf pan)
- butter (for brushing on the cooled bread)
Instructions
- Melt some unsalted butter and let that butter cool.
- Aerate the flour and spoon your flour into your measuring cup.
- In a medium sized bowl, combine three and a half cups of bread flour, one teaspoon of regular table salt, and one tablespoon of active dry yeast.
- Blend the flour, salt, and yeast together with your fork. Set that aside.
- In a large bowl, put one and a half cups of buttermilk.
- Add two tablespoons of the melted unsalted butter to the buttermilk.
- Add two tablespoons of granulated sugar to the liquid mixture.
- To your liquid, add in the dry ingredients a little bit at a time, mixing it in and around until you have everything added into one bowl total.
- Mix from bottom to top and pressing.
- Switch from using your spatula to your hand and feel the dough to see the moisture level content.
- If needed, add in about a tablespoon to two tablespoons at the most of additional buttermilk a little bit at a time, stirring and blending from the bottom where it’s typically going to be drier in the bowl to the top.
- Gather your dough until it’s all turning into one big ball.
- On a nice clean surface on your countertop, put maybe about a tablespoon to two tablespoons at the most of bread flour.
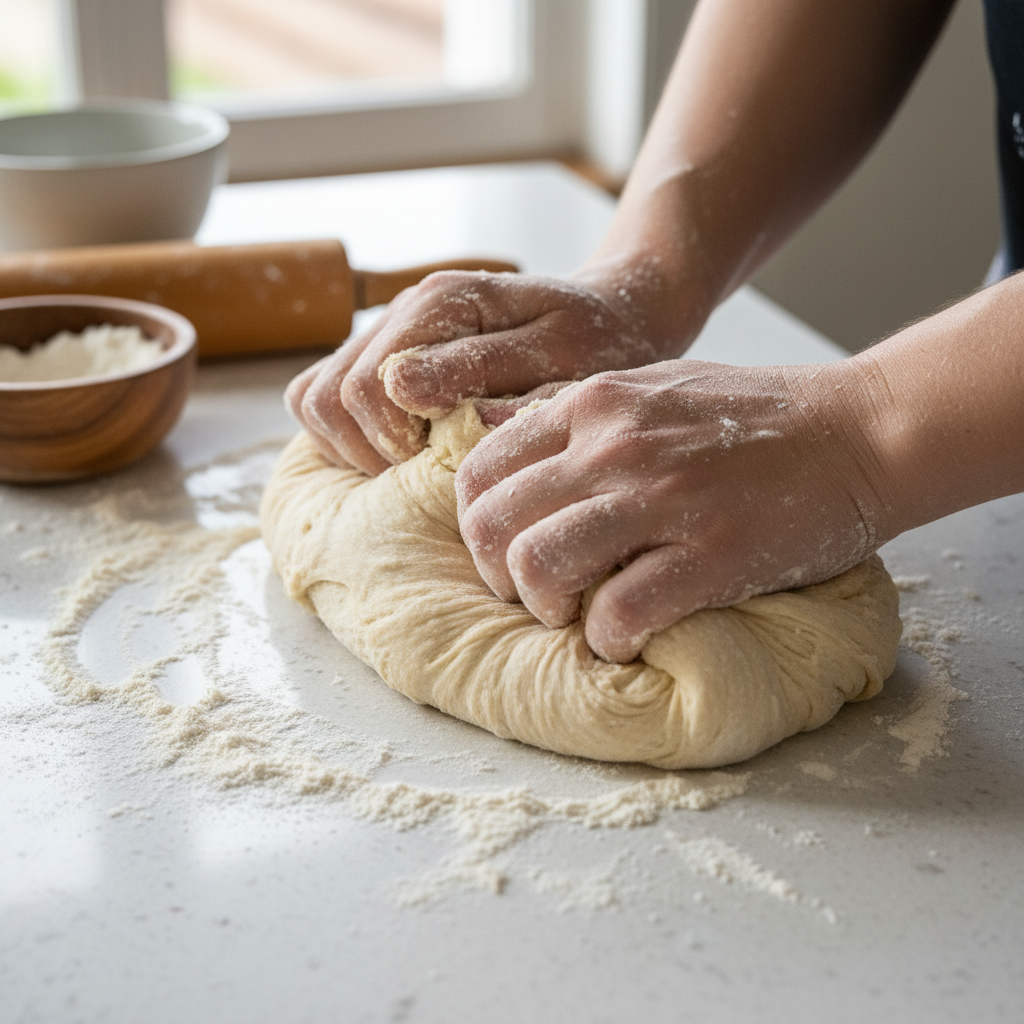
- Knead this dough for 10 to 12 minutes, pushing your dough away from you with your palms and gathering it back to you with your fingertips.
- Take your bowl, clean it out, spray it with a little bit of nonstick canola spray, and put your dough ball in the middle.
- Cover it with some plastic wrap and let this rise in a nice warm place, such as in your oven (turned on to about 250, then turned off, with residual heat).
- Let the dough rise for about an hour until your dough is doubled in size.
- Once your dough is doubled in size, take it out of the bowl and knead it again, really gently for just about a minute.
- Take a rolling pin and roll the dough out to just about a couple of inches in thickness.
- Fold the dough over, almost like a burrito.
- On the edges where you have the seam, go ahead and press your seam.
- Folded in the ends, stretch it out a little bit.
- Pinch the sides and pinch the seam.
- You have a nice loaf that you’ve created. Put it in a nine by five by three loaf pan that you have lightly greased with some soft butter.
- Use your same plastic wrap, cover your loaf, and put this back in your oven.
- Let this go ahead and rise for 35 to 45 minutes until it has doubled and the loaf will fill out into your loaf pan.
- Preheat your oven to 350 degrees.
- Bake the bread at 350 for 30 to 35 minutes.
- Let this go ahead and cool in the pan for about 10 to 15 minutes.
- Shake the loaf from the pan and quickly lift your loaf right out of the pan.
- Let this cool for another 15 minutes, so it is cooled down a bit but is still warm enough.
- Put a little bit of butter on it.
- Totally let your bread cool down significantly before cutting.
Cooking Tips
- Typically, it is always going to be best when you’re baking with yeast breads, especially to measure or whether to weigh your ingredients, but you don’t have to have a scale in order for it to come out great.
- You do not want to have your buttermilk ice cold when you’re making this so we can be just like on the countertop, which is fine.
- Be sure to shake your buttermilk.
- You definitely want to touch your dough and see like how dry it is, how wet it is.
- Always make sure that you’re stirring and blending from the bottom because that’s where the flour settles.
- You want to have a nice clean surface that you’re working with.
- Make sure that you just put maybe about a tablespoon to two tablespoons at the most. If you need to add a little bit more flour as you’re kneading, go ahead and add that flour but a little bit at a time.
- It’s very important that you want to knead this dough for 10 minutes, 10 to 12 minutes for sure.
- You want to make sure your dough never dries out but does stay a little sticky, a little tacky is another word that kind of describes how it is.
- You don’t want to cut it when it is hot or too warm because then it does change the texture of the bread. So definitely let this cool down. It could be warm but you don’t want it to be too warm, okay?
Serving Suggestions
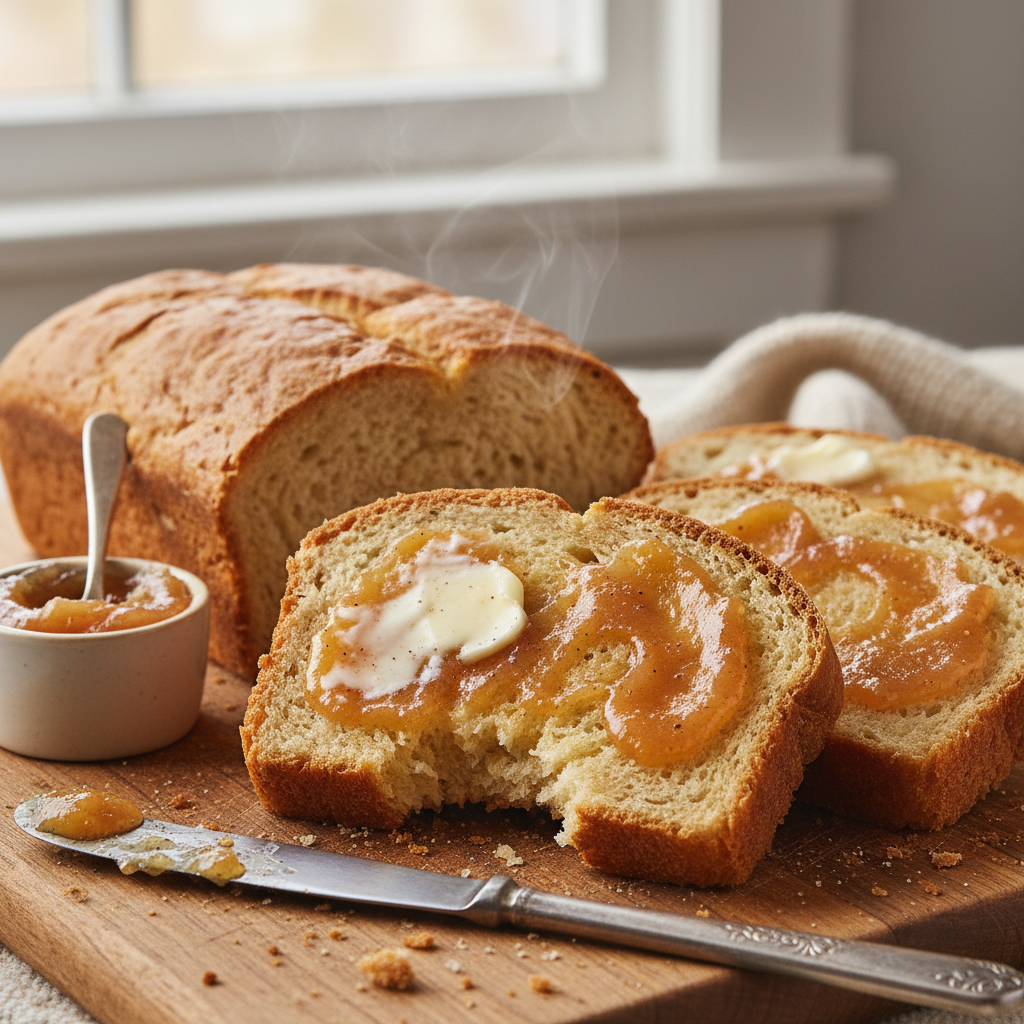
- I also have some of my homemade apple butter that I make in my crock pot.
- We are going to have that with some of this buttermilk loaf that we made.
- I have cut it so piece and I am going to put some butter on it.
- So I am getting your bite ready, making sure we have a nice bit of butter on that for you.
- I am going to go ahead and put a little bit of our apple butter on this side so we can try a little bit of our homemade apple butter.
I hope you give this recipe a try.
Well, that is it for me today and remember it’s always good.
When to bond, it’s cooking for the family.
I’ll see you on the next one.
Bye bye, everybody.