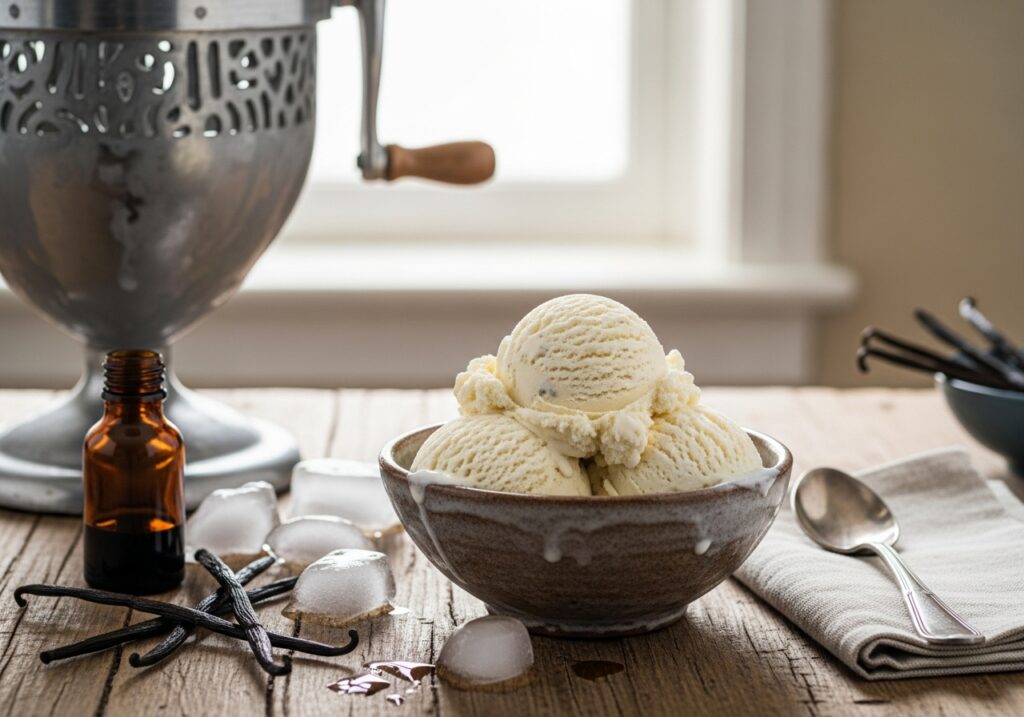
This is the best homemade ice cream base recipe that will help you make ice cream that really tastes good. This custard-style base is really simple to make, very creamy, and the best base for all of your favorite ice cream flavors.
Why You Should Make This Best Homemade Ice Cream Base
- Unmatched Creaminess: The custard base, which has egg yolks added to it, makes the texture very smooth and velvety.
- Versatile Foundation: This base is a great starting point for a wide range of flavors, from conventional vanilla to more creative mixes.
- Simple Preparation: Even though the end result is very fancy, the method is very simple and can be done at home.
- Superior Flavor: Using fresh ingredients and high-quality dairy makes ice cream that tastes better than what you can buy at the supermarket.
- Rewarding Experience: Making great ice cream from scratch is quite satisfying!
The beauty of this recipe is that it is simple and makes good food. You won’t believe how a few simple ingredients can turn into a treat that tastes just as good as the ones from your favorite ice cream shop. Also, making ice cream at home may be a pleasant and satisfying thing to do, whether it’s a weekend hobby or a family ritual. Let’s start making the base for your best ice cream creations.
You might also like our Refreshing Berry Sorbet or our Easy No-Churn Vanilla Ice Cream. Both are great frozen treats.
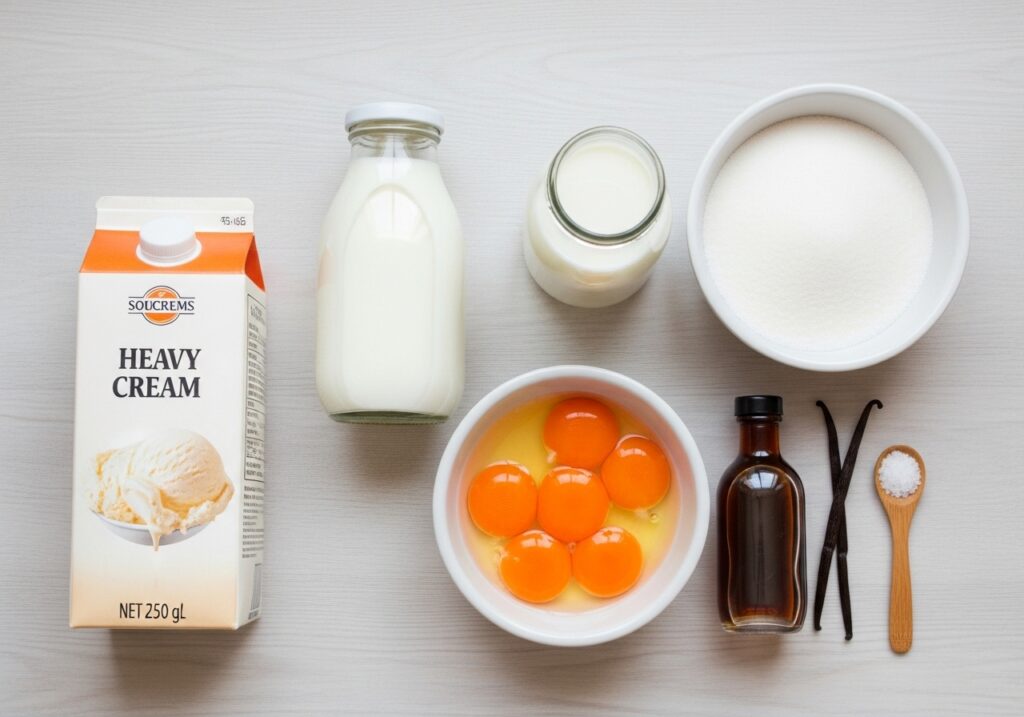
The Best Ingredients for Making Ice Cream at Home
To get that ideal, delicious texture, you’ll need these important things:
- Two cups of heavy cream. This is the main part of your ice cream that gives it richness and fat.
- One cup of whole milk. Whole milk makes the cream smooth and balances its richness.
- Three-fourths of a cup of sugar. When divided, this makes the base sweeter and stops ice crystals from forming.
- Five big egg yolks. The most important part of our custard base, which gives it richness, smoothness, and a velvety feel.
- 1 tsp of vanilla extract. Adds to the overall taste.
- A little bit of salt. Brings out the tastes and balances the sweetness.
How to Make the Best Homemade Ice Cream Base (Step-by-Step)
To make the perfect homemade ice cream base, just follow these simple steps. It involves mixing and heating things up slowly.
-
Step 1: Warm up the sugar and dairy
Put the heavy cream, whole milk, and half of the granulated sugar (approximately 6 tablespoons) in a medium saucepan. Stir the mixture every now and then and cook it over medium heat until it starts to steam and little bubbles develop around the edges. It’s really important that you don’t let it boil. Boiling the milk might burn it and change its delicate flavor.
-
Step 2: Get the Egg Yolks Ready
While the cream mixture is heating up, whisk the egg yolks and the rest of the granulated sugar (about 6 tablespoons) in a basin that can handle heat until they become pale yellow and get a little thicker. This is called tempering, and it’s really important for mixing the eggs in well.
-
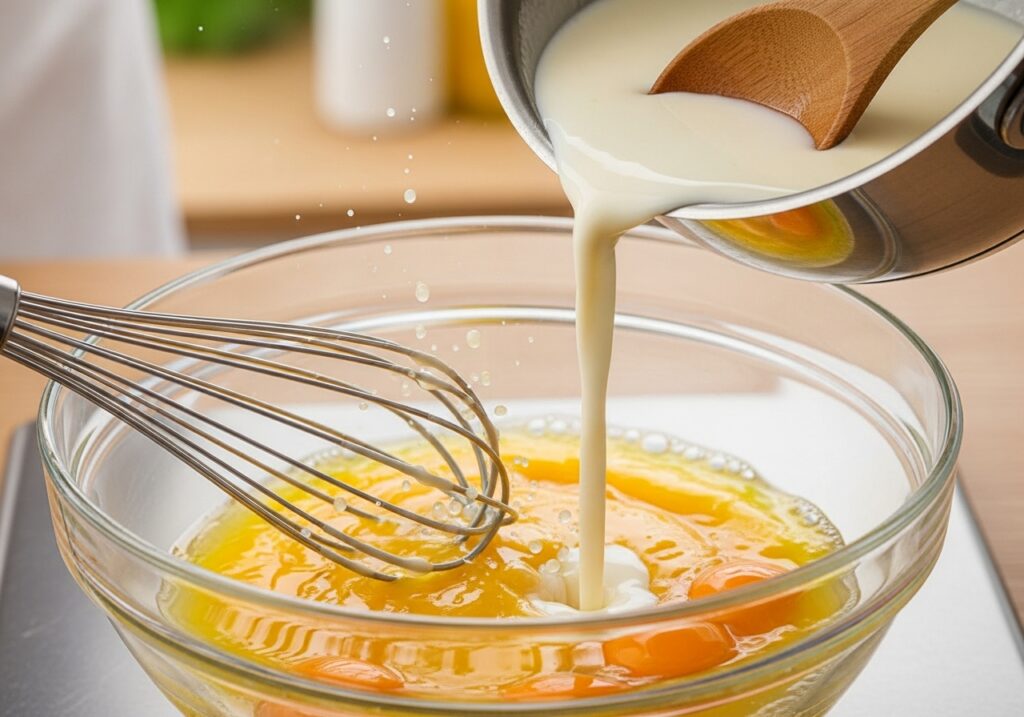
Step 3: Make the Egg Yolks Less Hot
When the cream mixture is hot, add about 1/2 cup of it to the egg yolk mixture very gently while whisking the whole time. The slow addition of heat keeps the egg yolks from scrambling, which makes a smooth custard basis.
-
Step 4: Mix the two mixtures together.
As you pour the tempered egg yolk mixture back into the pot with the rest of the cream mixture, keep stirring it. This makes sure that everything is mixed in equally.
-
Step 5: Make the custard
Stir the food regularly with a wooden spoon or heatproof spatula as it cooks over low to medium-low heat. Keep stirring until the custard is thick enough to coat the back of the spoon. This usually takes 5 to 8 minutes. Don’t let the custard boil, or the eggs will scramble. If you run your finger through the custard on the back of the spoon and it leaves a clean path, it’s ready.
-
Step 6: Strain and add flavor
Take the pot off the heat right away and add the vanilla extract and a pinch of salt. After that, use a fine-mesh strainer to drain the custard into a clean basin. This step is very important because it gets rid of any small pieces of cooked egg, which makes the texture smooth and velvety.
-
Step 7: Cool Down Completely
To stop a skin from forming, put plastic wrap directly over the custard. Put it in the fridge for at least four hours, or better yet, overnight, until it is completely cool. So, the colder the base, the better and faster it will churn.
-
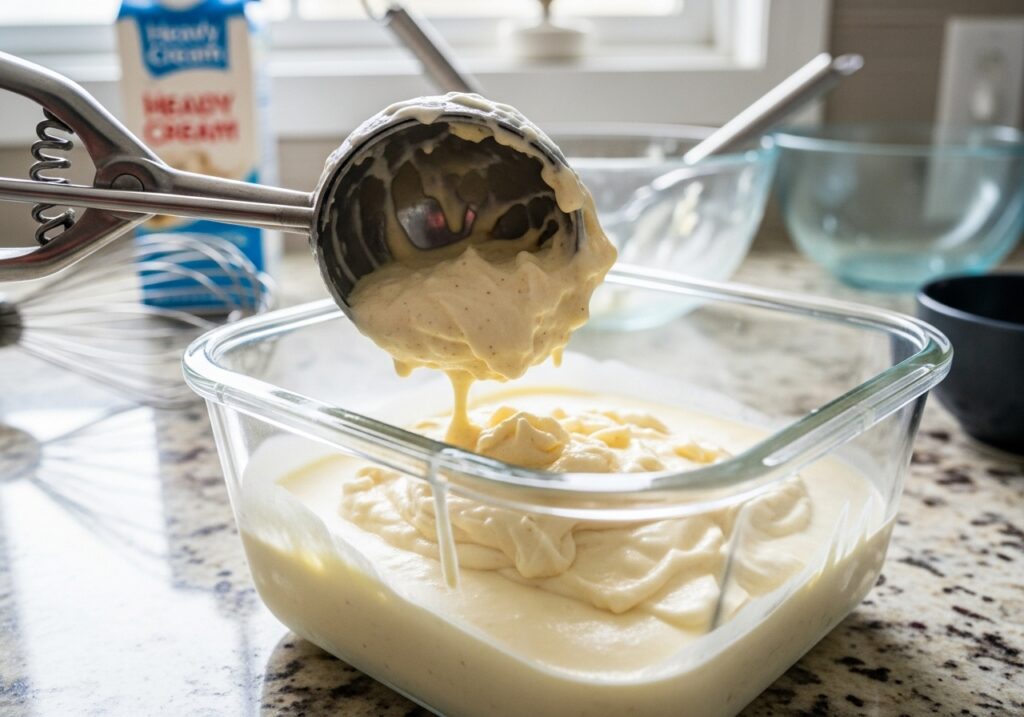
Step 8: Freeze and churn
After it has cooled, follow the instructions for your ice cream machine to churn the ice cream base. Put the ice cream in an airtight container and freeze it for at least 2–4 hours after churning it until it is soft-serve. You may even eat it right away as soft-serve!
Tips for the Best Homemade Ice Cream Base Experience
This base is the first step to making great ice cream. To make your experience even better, here are some tips:
- Use Quality Ingredients: Fresh, high-quality dairy and good vanilla extract make a big difference in how the finished product tastes.
- Don’t Rush the Chilling: The base should chill for at least four hours, but overnight is better since it lets the flavors mix and the base gets really cold, which makes churning go faster and makes the texture smoother.
- Avoid Boiling the Custard: Gentle, constant stirring over low heat is key to preventing scrambled eggs and achieving that signature silken texture.
- Strain for Smoothness: Always strain your custard through a fine-mesh strainer. This simple step removes any tiny bits of cooked egg, so your ice cream will be totally smooth.
- Experiment with Flavors: Once you’ve got the hang of this base, go ahead and get creative! After churning, fold in your favorite mix-ins, such as cookie dough, nuts, or fruit swirls.
For more sweet treats, consider our Classic New York Cheesecake or our Homestyle Apple Pie.

Frequently Asked Questions about Homemade Ice Cream Base
Here are some common questions that will help you get the hang of this recipe:
External Resources for Ice Cream Making
If you want to learn more about the art of producing ice cream and try more sophisticated techniques, check out these resources:
- Serious Eats’ Ice Cream Science will teach you about the science of ice cream.
- The Kitchn’s Ice Cream Section has numerous recipes and advice for making ice cream.
Your Ultimate Guide to the Best Homemade Ice Cream Base!
With this best homemade ice cream base recipe, you’re equipped to create incredibly delicious, creamy ice cream right in your own kitchen. It’s a basic recipe that lets you make many kinds of frozen desserts. This base is the best place to start, whether you’re serving it simple or adding your own flavor to it.
We really hope you enjoy preparing and savoring this ice cream foundation as much as we do! Please tell us about your experience in the comments below after you’ve had a chance to churn and taste your ice cream. We’d love to know about any different flavors you tried or how you served it! You can also post your work on Pinterest and Instagram.